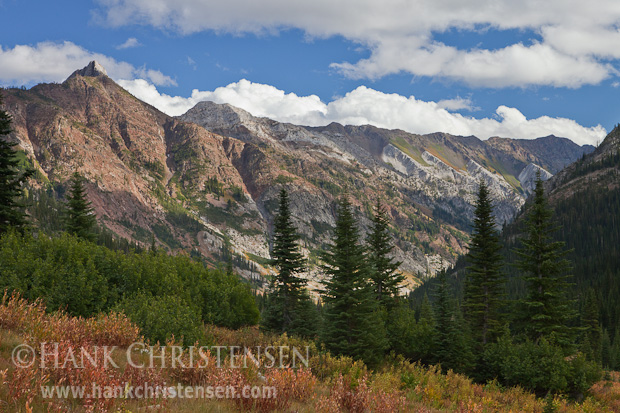
This week’s photo was taken on a recent backpacking trip to Eagle Cap Wilderness in north-eastern Oregon. The trip was so scenic that I’m still wading through many great photographs, creating a photographic trip report (so stay posted). This shot was taken on the last evening of the trip, as we were working our way down the canyon from the headwaters of East Eagle Creek. The setting sun lit the western-facing cliffs in soft light. I was doubly blessed that in the afternoon, the gray skies broke up into fluffy white clouds, giving the sky a little texture.
This shot is a great example of what RAW capture from a digital SLR can achieve. The most important aspect to keep in mind when finding the right exposure, is to make sure not to blow out your highlights. Once a highlight is blown, there is no information to recover in the image file. To prevent blowing out the highlights, I use the histogram and adjust the exposure compensation up or down as needed. In this case, I was at risk of the clouds being overexposed, so I had to dial back the exposure to -1 EV. The resulting histogram actually showed that I had overexposed the image just a little, but I knew that was okay, because I was shooting RAW. I brought the file into Lightroom, and used the Recovery slider to bring the detail back into the clouds.
Now I was faced with a very dark foreground. The Fill Light slider helped with that, but the sky was still brighter than it appeared to my eyes in real life. Enter one of Lightroom’s best features, the Graduated Filter. This allowed me to darken just the exposure of the sky, bringing the whole image back into balance.
Shooting RAW gives me the most flexibility to make important image processing decisions on my computer after I get home, rather than relying on the camera manufacturer’s automated algorithms to run in camera while processing the RAW into a JPG. If there is one aspect of digital photography I would recommend, it is learning about and understanding the benefits of shooting RAW. If your camera has this setting (even many point-and-shoot cameras now have this), use it. There will be more work to be done after you get home, but the resulting images will make that effort well worth it.
