Become a Better Photographer by Exposing to the Right

Sun creeps down the mountains west of the Cotton Ball Basin, Death Valley National Park

Read old photography books and you’ll find instruction on over or under exposing your camera in order to “fool” your camera into capturing the scene on film as it was in real life. Cameras are designed to render every scene at an average of middle gray, which may not be suitable for all scenes. For example, snow or beach scenes often need to be over exposed by a couple of stops or else the camera will expose the snow or sand darker than it appears in real life, giving a muddy appearance to a naturally bright scene. The same is true for naturally dark scenes. For example, if a black cat fills most of your frame, you should underexpose or else the camera will try to expose the cat at middle gray, blowing out your highlights.

However, this is not necessarily true with digital photography. As you are learning the craft of digital photography, once you graduate from shooting jpeg images to RAW images, you should learn how to “expose to the right”.
In a nutshell, this means overexposing the shot as much as possible without blowing out (or clipping) your highlights. This term is named after the fact that when overexposing, the tones captured by the camera move to the right part of the histogram that represents the possible tonal range the camera’s sensor can capture.

The principal behind this technique is simple – digital sensors capture far more digital information on the right side of the histogram (the brightest part of the image), than the left side of the histogram (the darkest part of the image). In other words, images with lots of bright, detailed areas take up more disk space (and contain more digital information) than images with dark features.

Let’s assume for example your camera’s digital sensor can capture 8 stops of light across 4096 tonal levels (in reality, dynamic range varies from sensor to sensor). The more tonal levels a sensor can capture, the smoother the transition between light and dark in the resulting photo. The f-stop measurement is logarithmic in nature, meaning a stop will capture twice as much light as one stop darker. That means using the example distribution above of 4096 tonal levels across 8 stops of light, the brightest stop will capture 2048 tonal levels while the darkest will capture only 32. There is much more digital information needed to capture the many tonal levels of the brightest stop than the few tonal levels of the darkest stop.

You’ve likely seen the results of this lack of digital information when trying to brighten an image in post processing. As you increase the exposure slider in Lightroom, for example, you’ll see lots of digital noise appear in the dark spots of the image. If, on the other hand, you need to make an image darker in post processing, no digital noise is added because you already had all that extra digital information in the brighter image. Therefore, the goal of exposing to the right is to capture the maximum amount of digital information as possible in the field, so that you have more options with that image in post processing.

Here are some examples:
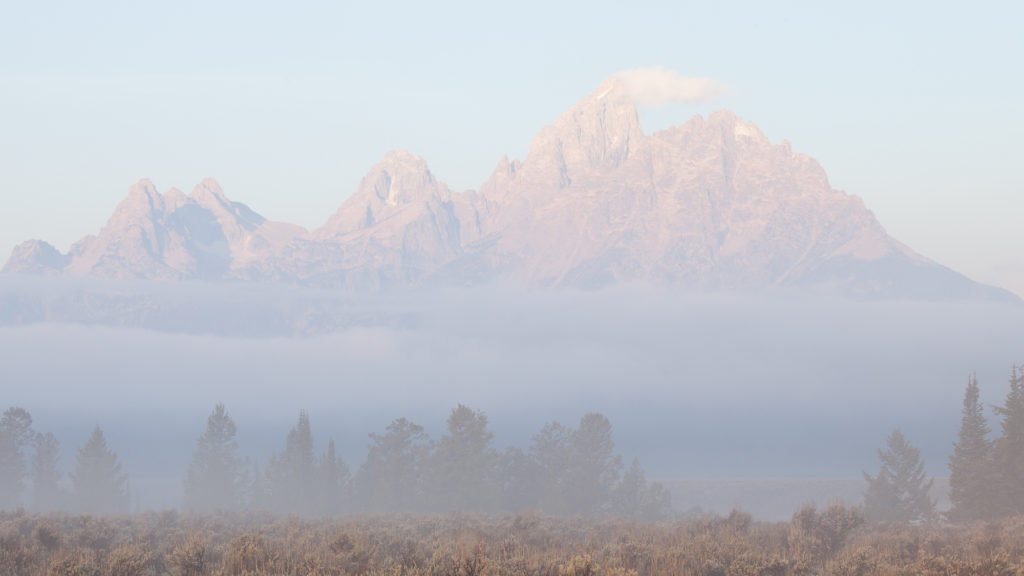
In the image of the Grand Tetons above, I set my camera’s exposure compensation to +1 1/3 stops, even though it looked terrible on the back of my camera. By trusting the core principals of this technique and relying on my experience, I knew that once I post processed the RAW file in Lightroom, I could really make the image sing. Here is the result:
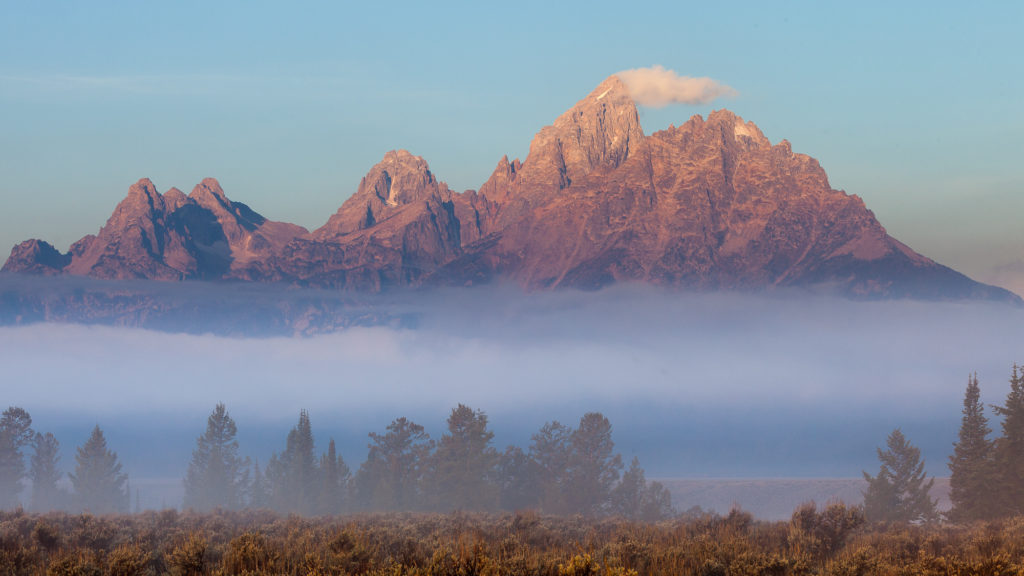
A fog bank moves in front of the Grand Tetons as the rising sun illuminates the sheer peaks, Grand Teton National Park

I corrected the photo in post processing by setting the black point to the left most side of the histogram. This evened out the tones across the entire histogram, adding a lot more contrast back into the photo. Secondly, I dropped the exposure slider down by about 1 stop. This corrected for the overexposure I made in the field. The real benefits can be seen when blowing this image up to inspect it for printing. The shadows are smooth and detailed – more so than if I shot at the correct exposure in the field.
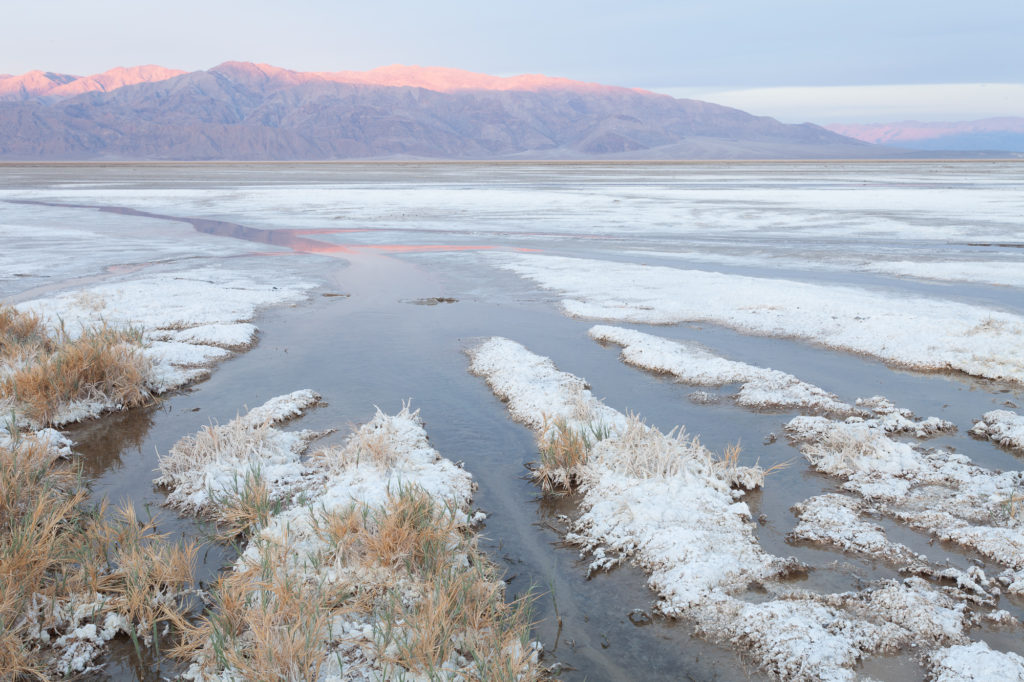
The second example is from Death Valley National Park. Here again I set the exposure compensation on the camera to 1 2/3 stops lighter than the sensor would normally expose the scene. Similar to the brightness of the fog in the Tetons example, all of the white salt in this image required an overexposure so as not to get a middle gray result.

In the field, I kept raising my exposure compensation until I saw the white “blinkies” (overexposure warning) on the resulting image, indicating some parts of the scene were blown out. This meant that these parts of the image no longer contained any detail, and would render a pure white. There is no recovery from blown out white, no matter how much post processing you do, so I lowered the exposure compensation by 1/3 of a stop until the blinkies were no longer showing.
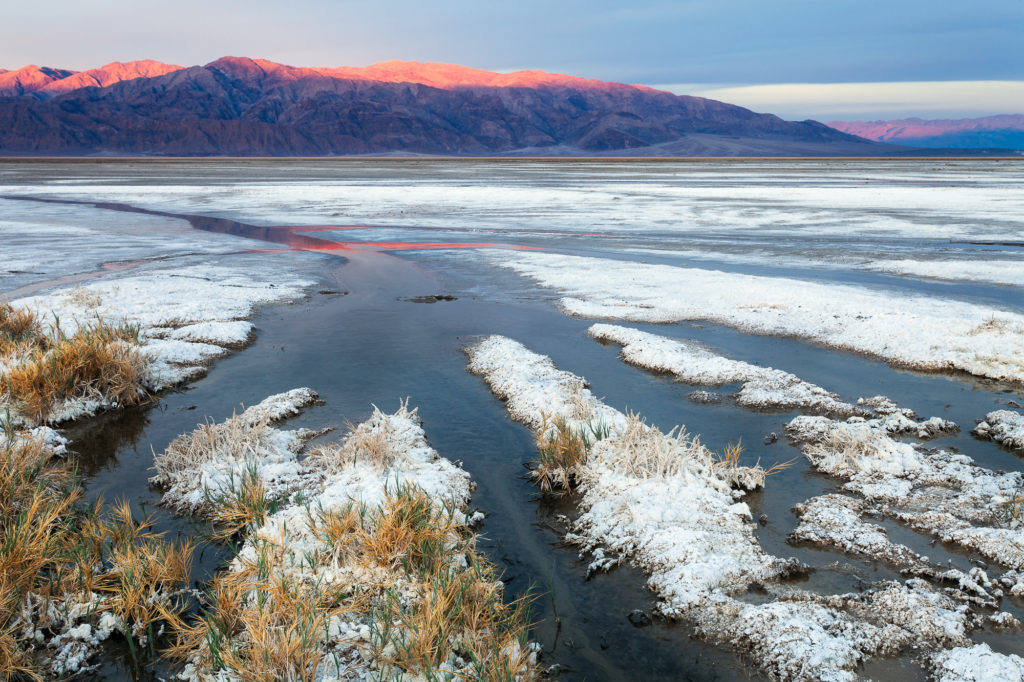
Sun creeps down the mountains west of the Cotton Ball Basin, Death Valley National Park

The processing steps were the same as the first image – set the black point to add contrast, and lower the exposure slider until the image looked correct on a calibrated monitor.

How to expose to the right

  1. Always shoot RAW! If you aren’t shooting RAW, you are already throwing away digital information, and letting robots process your images.
  2. Turn on the histogram for your camera. Make sure that every image viewed on the rear LCD shows a histogram, which you can use to judge the overall lightness and darkness of the image.
  3. Turn on the overexposure warning. On Cannon cameras, this the “blinkie” display. Any overexposed portions of your image will flash white, letting you quickly know that you need to lower the exposure compensation.
  4. Set the camera to evaluative metering. This means the camera’s light meter will use the entire scene to evaluate the exposure. I shoot 100% of my images in this mode, and I’ve learned my camera’s metering characteristics well enough to set the exposure compensation correctly for different light and dark scenes.
  5. Shoot a couple of test shots, making sure you overexpose the maximum amount without the overexposure warning appearing in the resulting image.
  6. In post processing, correct the exposure by setting the black point. In Lightroom, this means lowering the “Blacks” slider until there are values to the left most side of the histogram. This stretches the image values across the entire histogram, increasing contrast.
  7. Finally, lower the overall Exposure slider if the image is still too bright.
  8. Print and enjoy! Congratulations, you’ve just used your camera’s sensor to its maximum, gathering the highest possible amount of digital information from the scene.
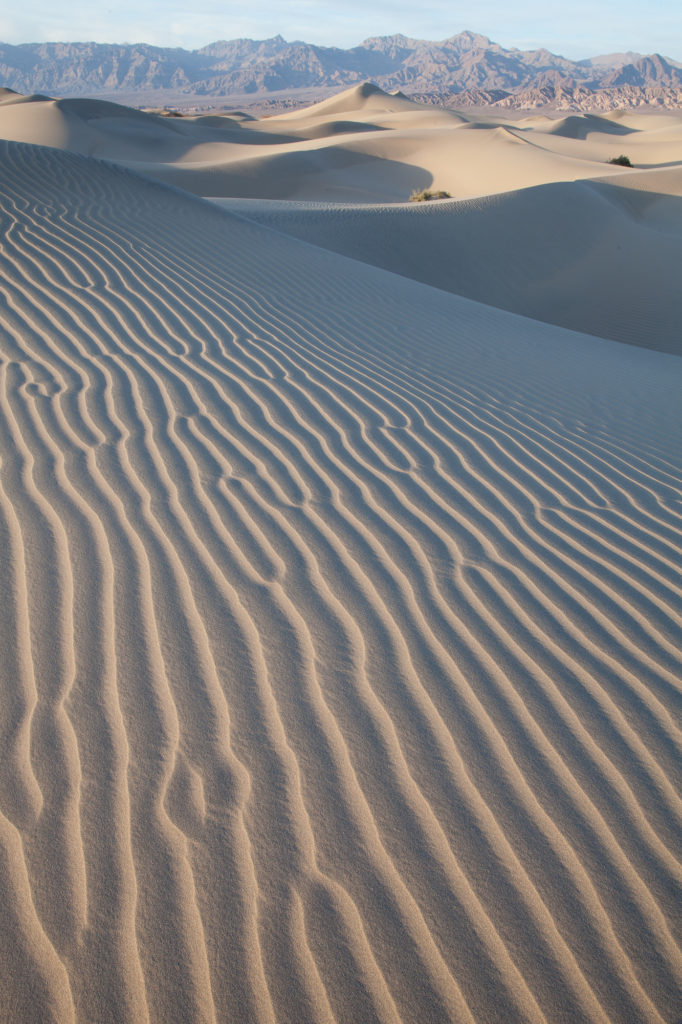
My final example is also from Death Valley National Park, this time evening light on the Mesquite Dune field. When I overexposed this scene, I lost almost all contrast in the resulting image. However, I captured a ton of clean detail in the shadows of the dunes. This detail is especially important in this image, because the shadow patterns is the main foreground element, and having any digital noise here would ruin the image.
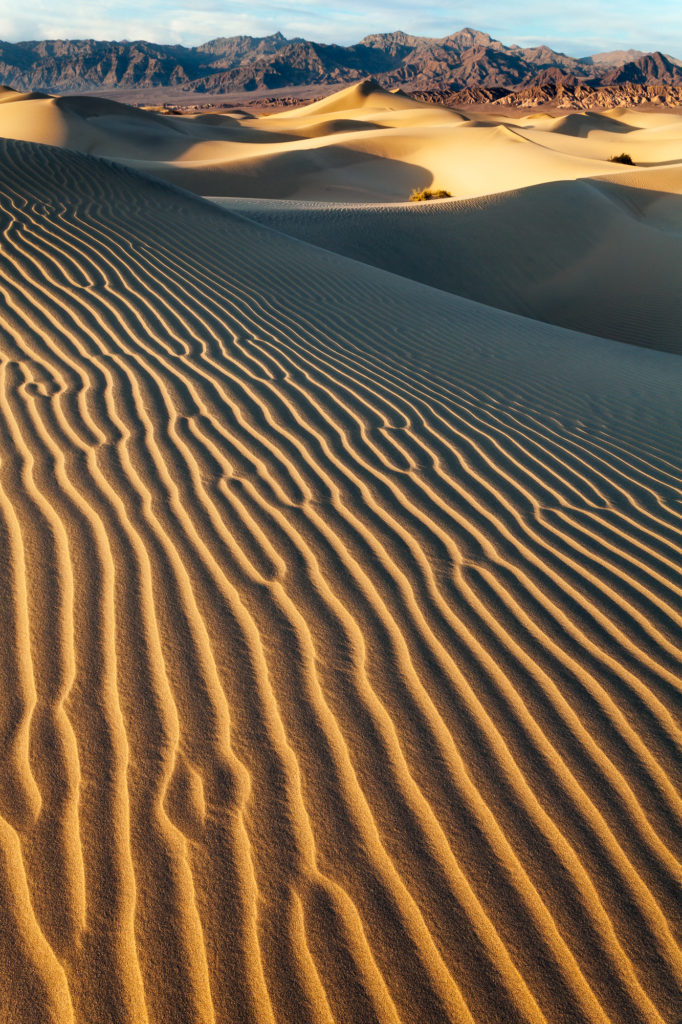
The Mesquite Dunes stretch across the valley just north of Stovepipe Wells, Death Valley National Park

In the final image I was able to add back all the contrast that was in the real scene, and ensure I kept all my shadows smooth and noise free. Practicing this technique a few times will make it a natural part of your workflow. If you have any questions about this process, drop me a comment below, or shoot me a message through my website.

Gear I used to create the photos in this post:

How To Scout A Location For Landscape Photography

Hang around a group of landscape photographers long enough, and you’ll undoubtedly hear them talking about location scouting. As the old saying goes, understanding your subject better will improve your photographs of the subject. This is true for all kinds of photography (wildlife, architectural, portrait), and landscapes are no exception. Location scouting is the process of getting to know a particular landscape better, and is an important aspect of improving your landscape photography.

Before we talk about the nuts and bolts of how to conduct a proper location scout, let’s talk about various types of scouting and how each might bring a new perspective on an imperfect landscape.

Seasonal scouting

Location scouting can be done long before the final photo is taken, sometimes even years. Anytime I visit an area for landscape photography, I not only try to create the best photograph I can at the time, but I also imagine what the scene might look like during different times of the year. Would that alpine meadow make the perfect foreground if only it were covered in wild flowers? Would those high mountain slopes pop if the aspen groves were in peak fall colors? Or if the tree line was blanketed with fresh snow?

Sometimes certain areas don’t look very good when I first visit, but in a different season, it would shine. In those cases, I make a mental note to come back in the season I think will show the area at its best, and do research to find out optimal timing for those seasonal elements. But while I’m there, I can spend the time finding some of the shots that I will eventually take, even if it ends up being years later.

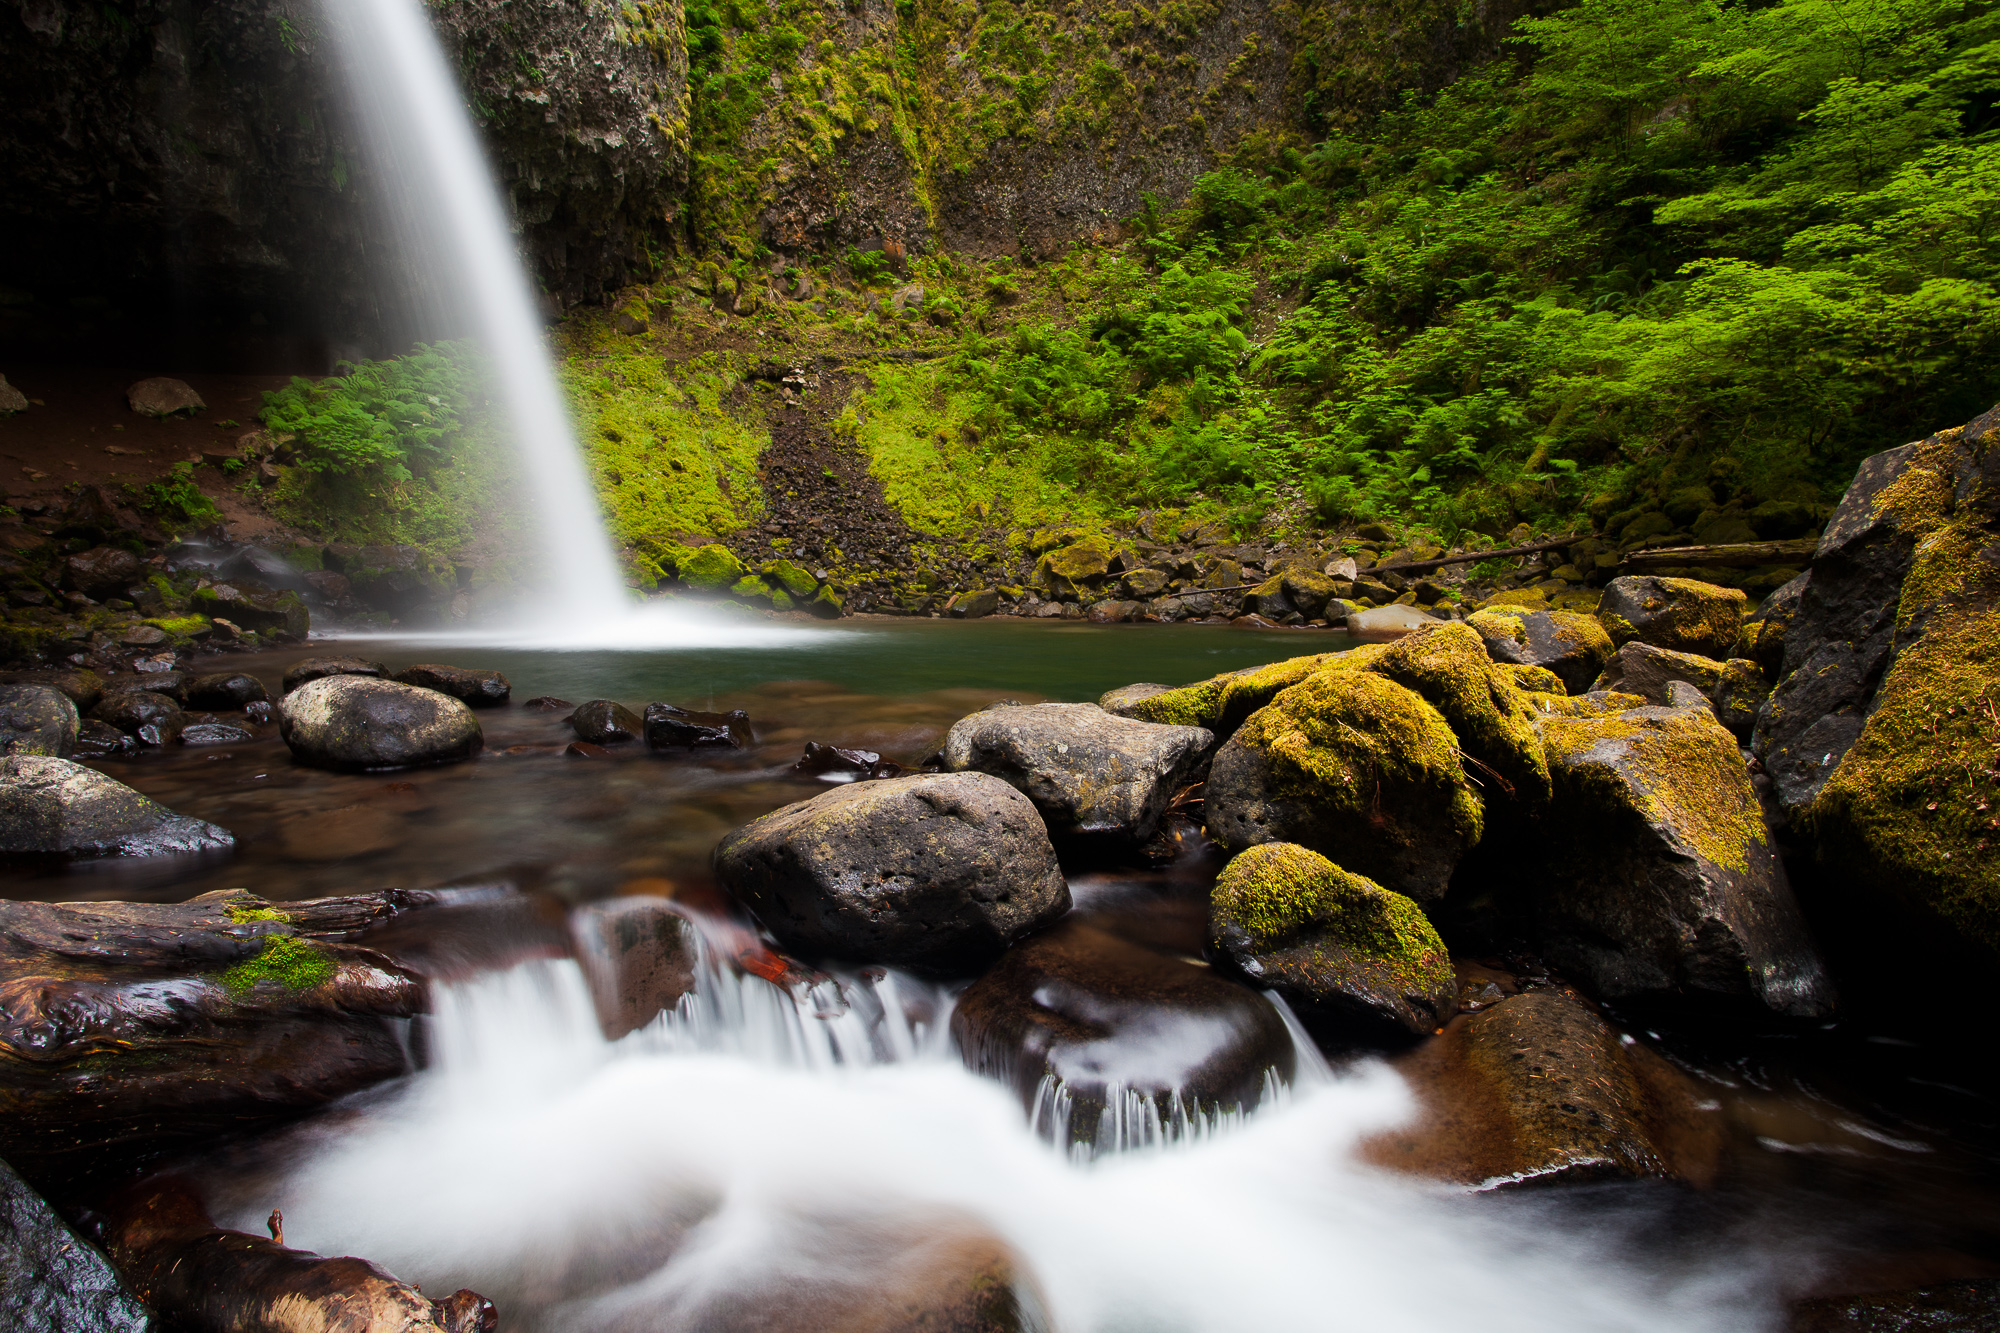
Ponytail Falls shoots outward from a cleft in a rock cliff, and cascades over large stones below, Columbia River Gorge, Oregon

In this example, I first visited Ponytail Falls in Oregon’s Columbia Gorge in late fall. The trees were bare and the moss on the river’s rocks was brown. It was still a pretty scene, but I knew that by visiting the same area in the spring, I would green up the scene, and catch the falls at peak water flow. I returned in spring a couple years later to capture the photo above. Having already scouted the area and set up my shot made the return trip easy, as I had already formulated my target compositions in my mind.

Scouting for a different time of day

Scouting an area for a future season is an extreme example of the practice. More often, we’re scouting in anticipation of different light on the scene. Examples include visiting an area in the evening in anticipation of sunrise light, visiting midday while waiting for a beautiful sunset, or even waiting for a passing squall to reveal the full glory of its post-storm light show.

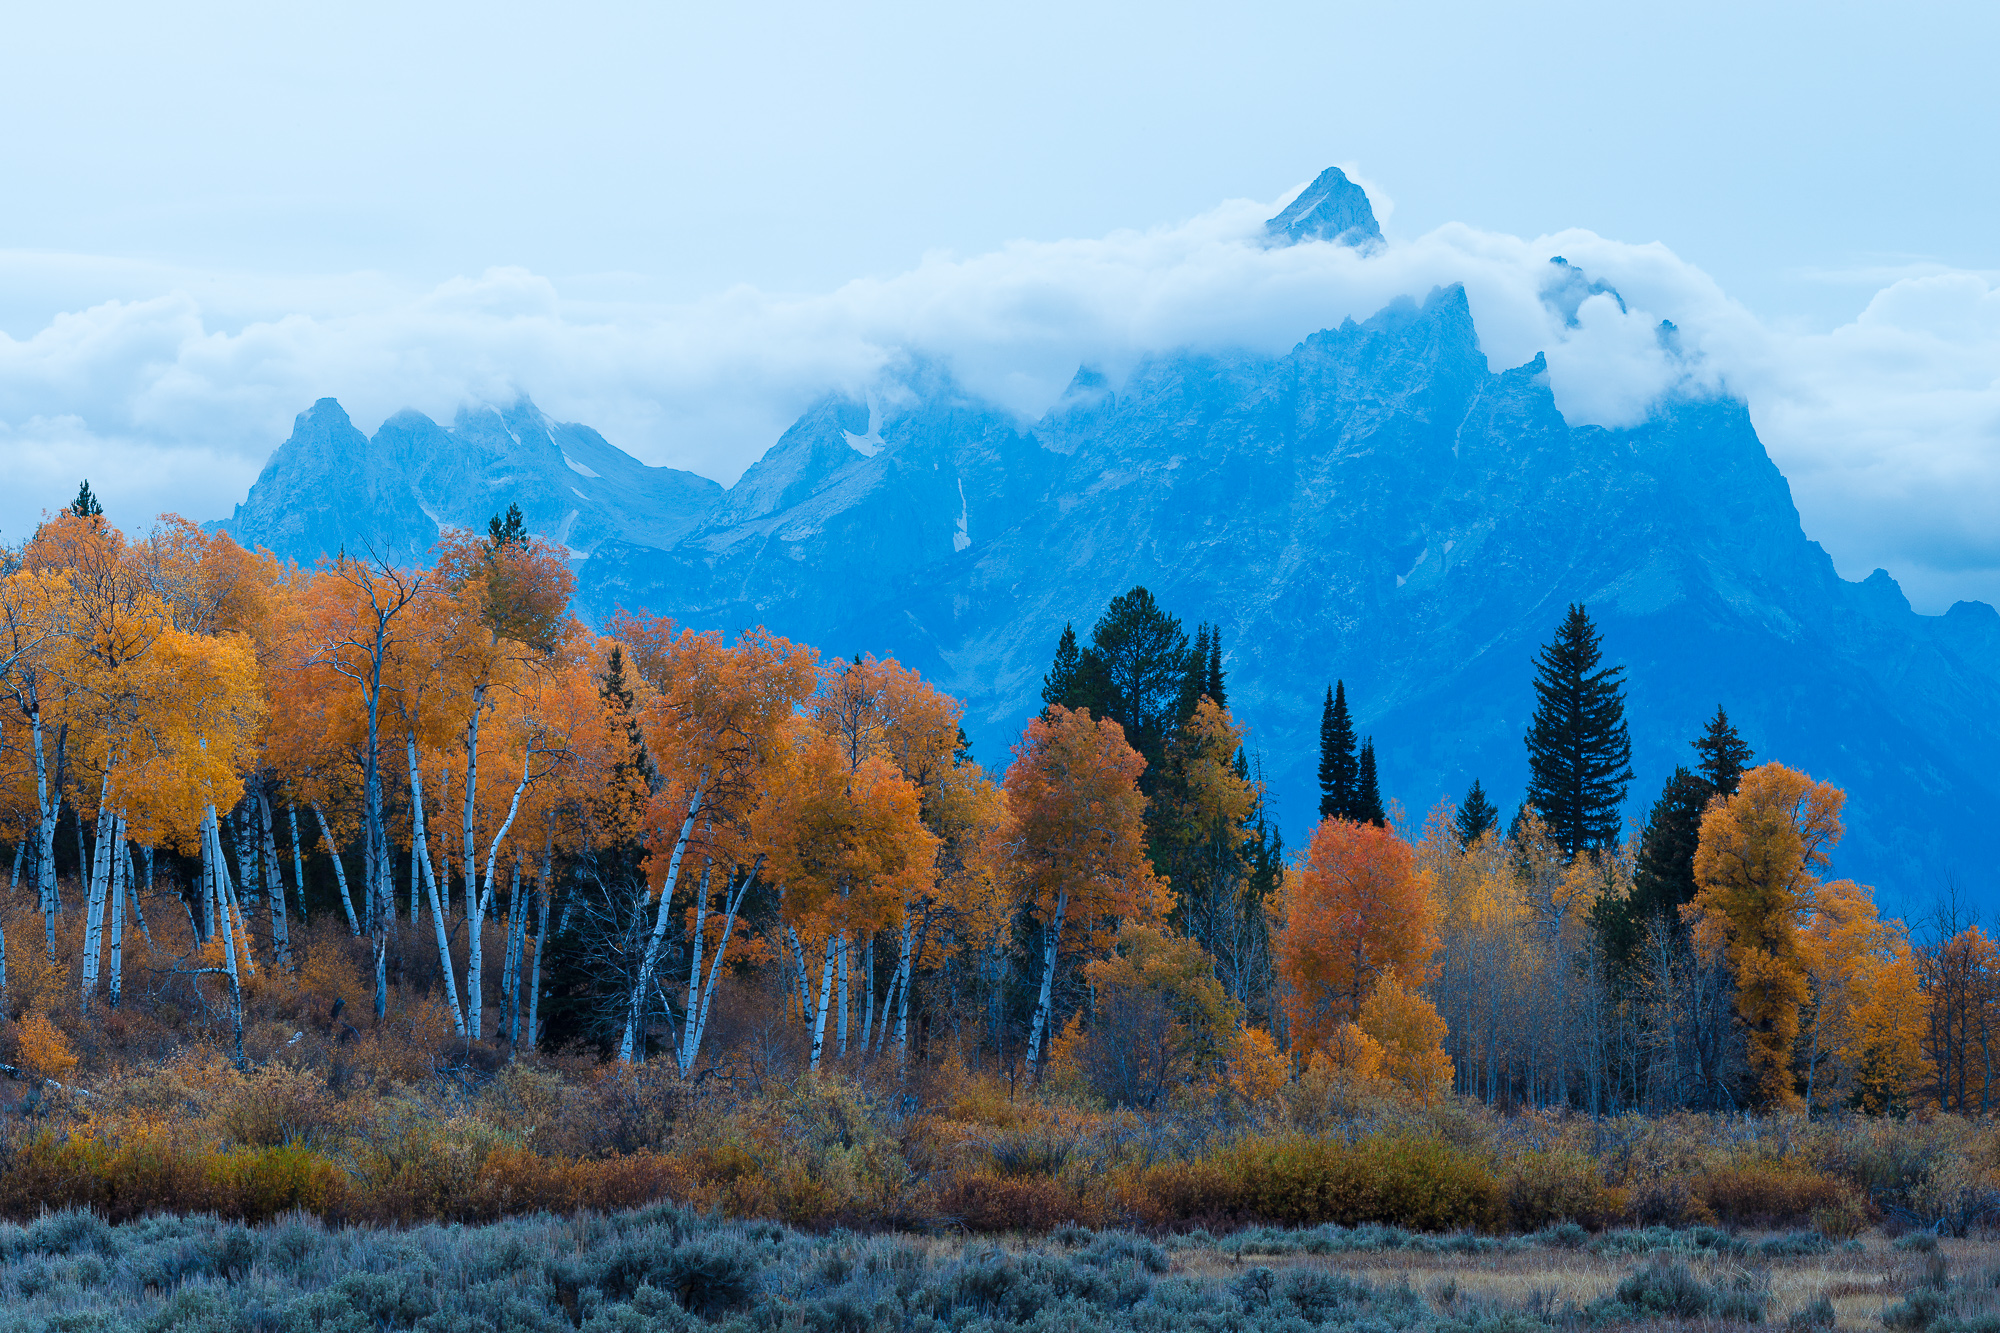
The tetons rise behind a stand of fall aspen, Grand Teton National Park

The photo above was taken on a trip to Grand Teton National Park with some friends. We scouted out a beautiful aspen grove in full fall foliage with the Tetons rising behind. However, the sunset we were hoping for failed to materialize with heavy cloud cover all the way to the western horizon. One of my friends suggested that although we had been targeting this location for a sunset, it might actually look spectacular at sunrise, as both the Tetons and the aspen grove would be front lit, slightly from the left. This would give definition to both the mountain and trees, and hopefully the sunrise would reveal some of that nice fall color throughout the grove. With another visit in mind, I spent some time composing the shot above, in anticipation of sunrise light.

The sun just lights the top of the Tetons as it rises behind a grove of aspen in their fall colors, Grand Teton National Park

A couple of days later, I was rewarded by the preparation. We arrived just before dawn, and because of my earlier visit, I knew exactly what my composition would look like. I quickly reset the shot based on GPS coordinates I took the previous visit. Using the exact spot I had set up in previously, as well as my reference shot from two days earlier, I took all the guesswork and stress of finding a shot that morning. Now it was just a matter of waiting for that beautiful light to brush through the aspen grove and make those yellows and oranges glow.

The on-site scout

The last type of scouting (and often the most frantic) that I do is what I call the “on-site”. This stems from me showing up unprepared, but still needing to quickly assess the area and find those great compositions that convey the essence of the area to the viewer. This is much easier done when showing up for a sunset shoot, because you typically have a few hours of daylight in which to scout and set up your shot for the magic hour. On-sight scouting for a sunrise shoot is much more difficult, because even if you show up early, you have to wait until pre-dawn light before you can see the scene well enough. It is very hard to create compositions in the pitch black of night!

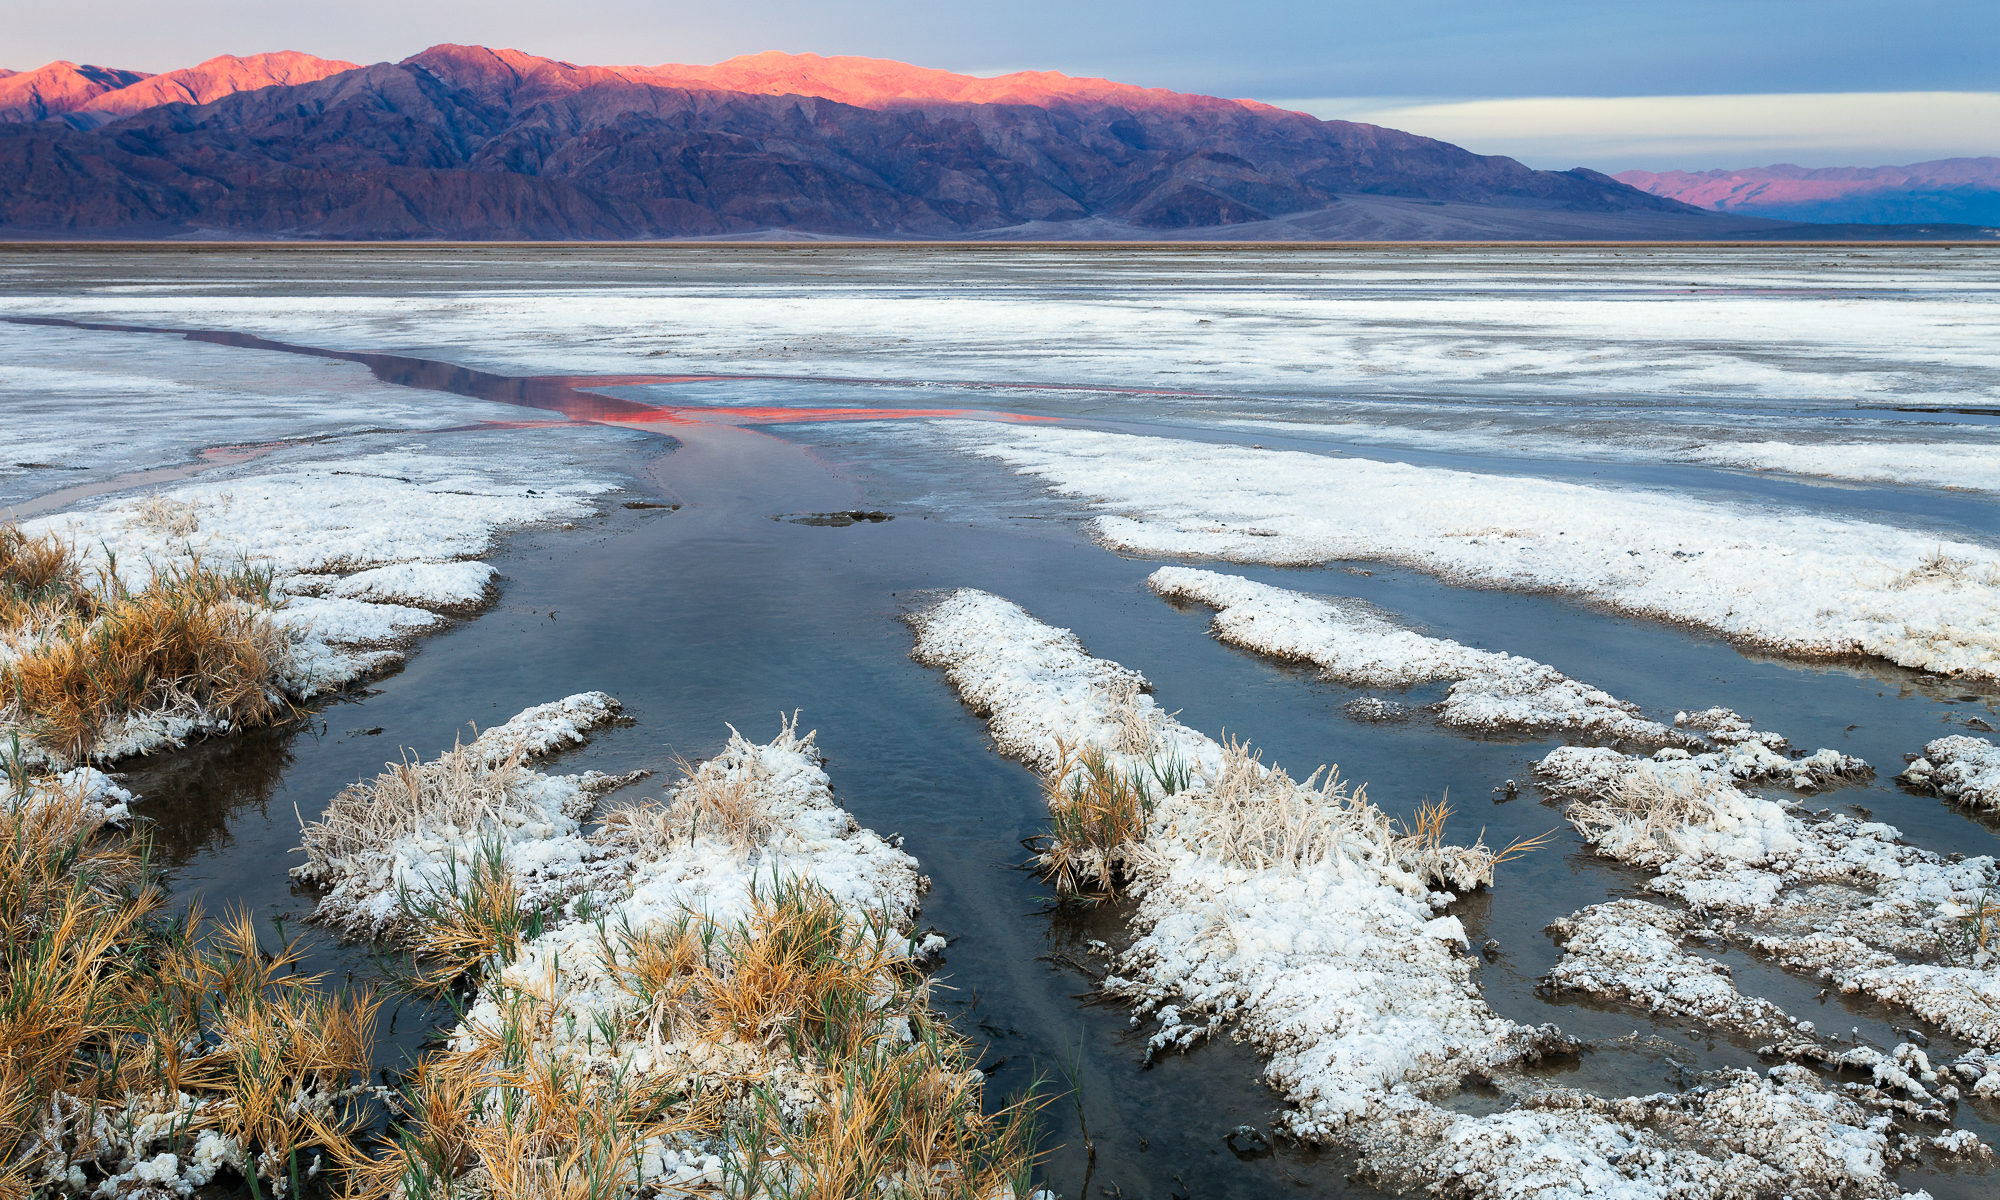
Sunlight moves down the mountains to the west of Salt Creek, now a dried salt flat, Death Valley National Park

The photo above was the result of one of those rare pre-sunrise on-sight scouts. This shot was taken on my first trip to Death Valley National Park in the salt pan near Salt Creek. As I walked out onto the dried salt bed, I was surrounded by a thick salt crust. While this could make for an interesting foreground, it felt a little too overbearing to balance out the distant mountains. However, I had never been here before, and I didn’t quite know where to go. As I saw the sunlight start creeping down the mountain face, a composition suddenly came to me. I wanted to contrast the bright red of the sunlit mountains with the blues of the still-shaded salt. However, this thick crust of salt wasn’t working for me – I needed a much more delicate salt ridge pattern that gave more emphasis to the structure of the salt in between the ridges.

I quickly scanned the ground to the north and south, looking for a ground pattern that would help fulfill that vision. In the distance to the south I saw something that might work, but I had only a few minutes to get there and set up before the light would flood the salt pan itself, ruining the color contrast effect. I heaved my tripod (camera still attached) over one of my shoulders and ran as fast as I could across the pan. As I got close, I could see that this foreground would work out perfectly. Down went my tripod, already set up to the right height with the right, wide angle lens attached. Less than a minute later, the sun was just touching the lower slopes of the mountains, creating the beautiful color separation I was hoping for.

Scouting techniques

Now that we’ve gone over the various types of location scouting, how does one actually go about doing this? You’ve arrived to a spot with several hours to spare, but now what? For landscapes, there are three major elements I’m thinking about combining to create my composition – background, mid-ground and foreground. The goal of scouting is to essentially find each of these elements that you want to add together to create a potential composition. If the lighting is great while you’re there, wonderful. You may luck out and get your ideal photo of that location. But more often than not, it helps to think about other times or seasons in which to capture the scene.

1. Find your background:

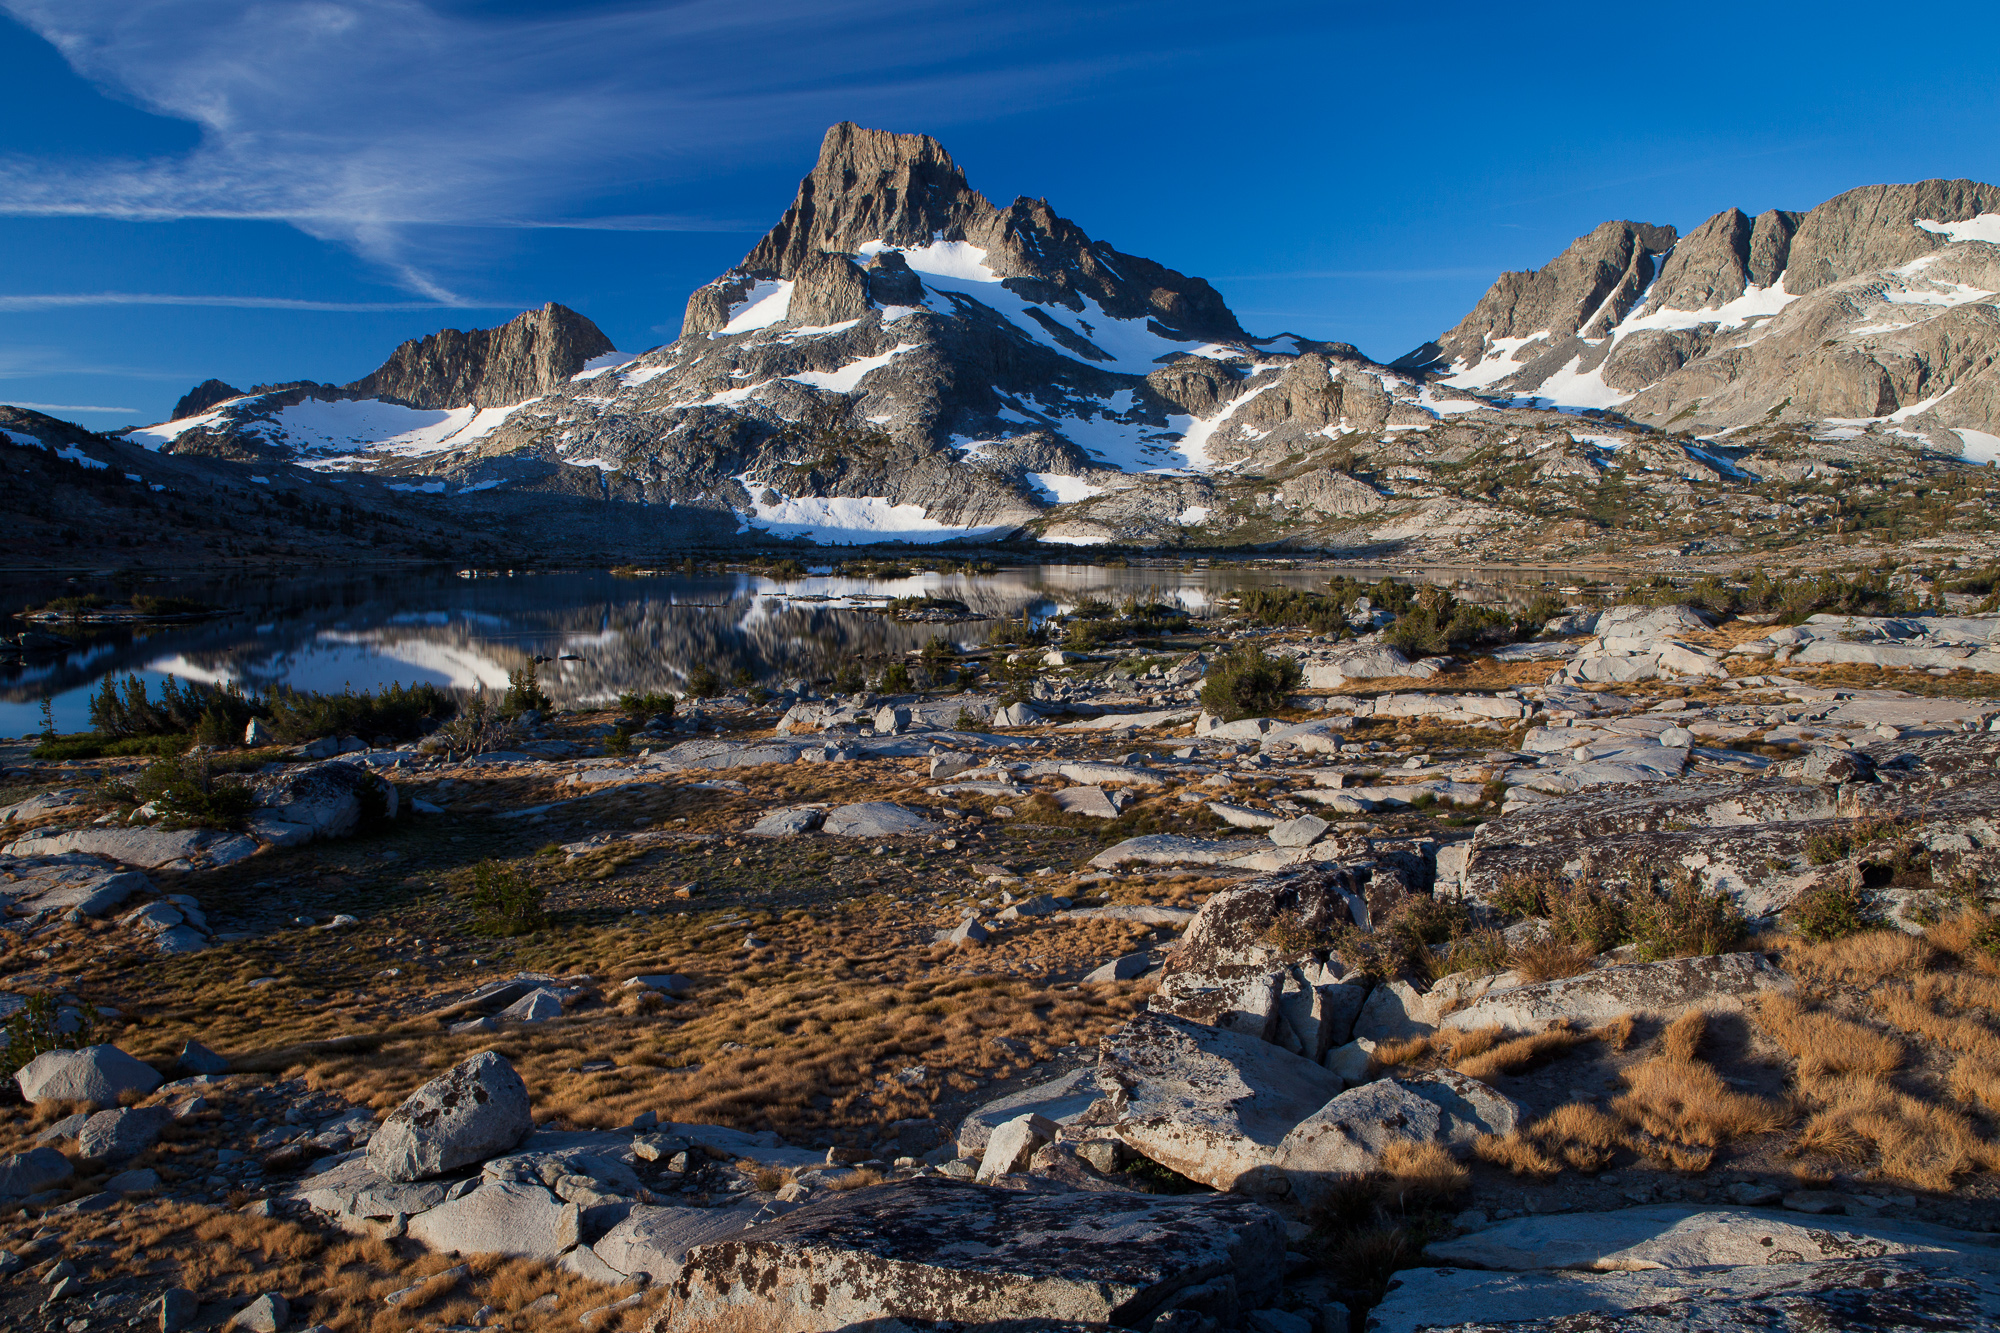
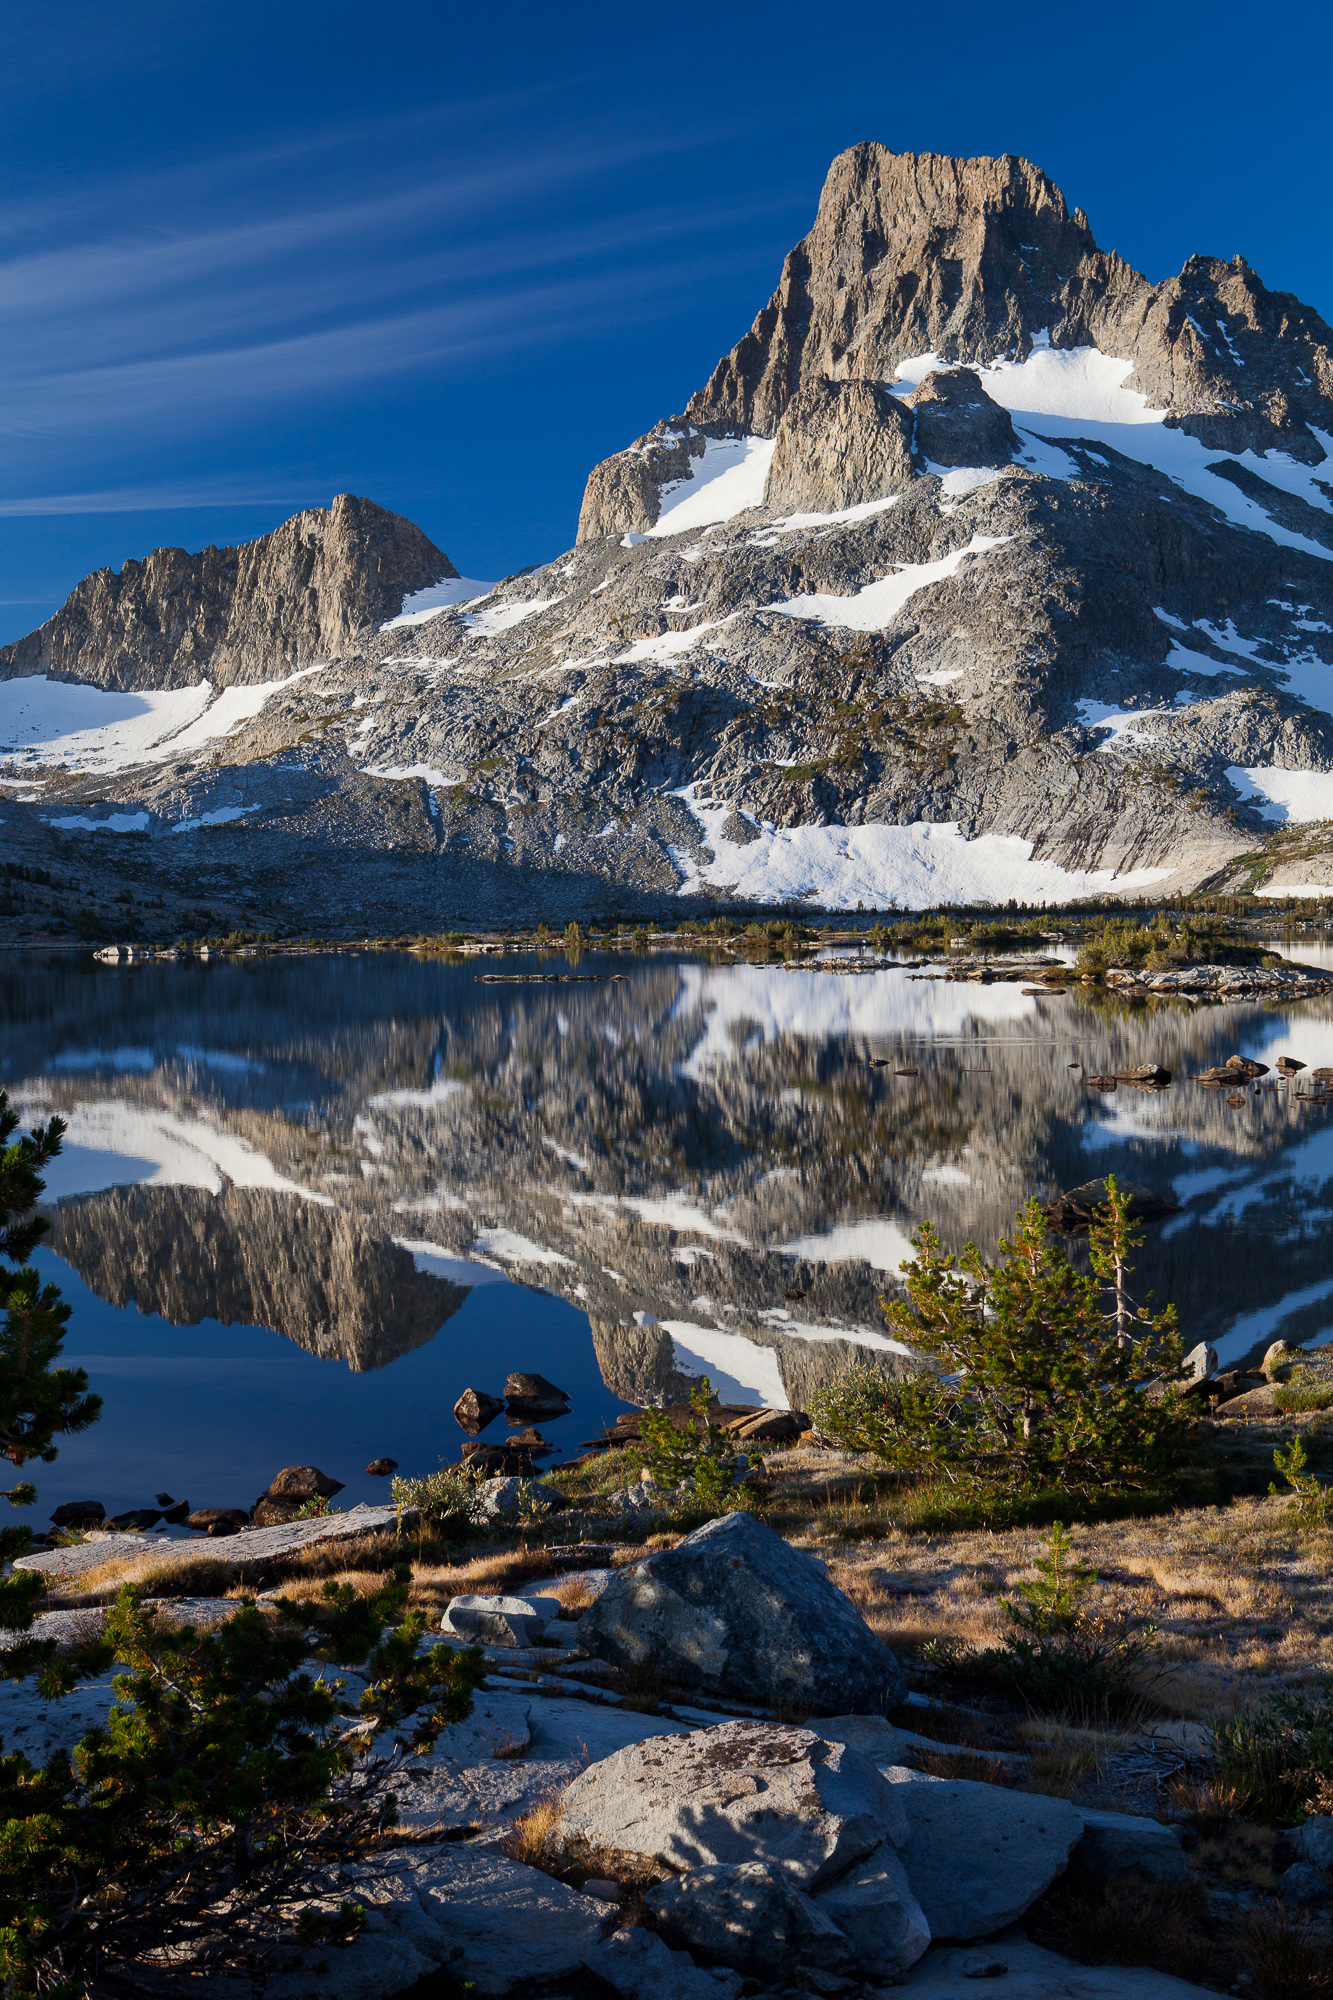
The sun rises over Thousand Island Lake and Banner Peak, Ansel Adams Wilderness

Backgrounds are easy. These are the huge dominant aspects of a landscape that typically draws you to the area in the first place. In my typical compositions, this is usually a mountain, ocean, or waterfall. In the photo above, I was backpacking at Thousand Island Lake in the Ansel Adams Wilderness of the Sierra Nevada. Banner Peak is a dominant feature of that area and hard to ignore. I knew well before my trip that I wanted to capture this massif at sunrise. One element down.

2. Find your middle ground:

The sun rises over Thousand Island Lake and Banner Peak, Ansel Adams Wilderness

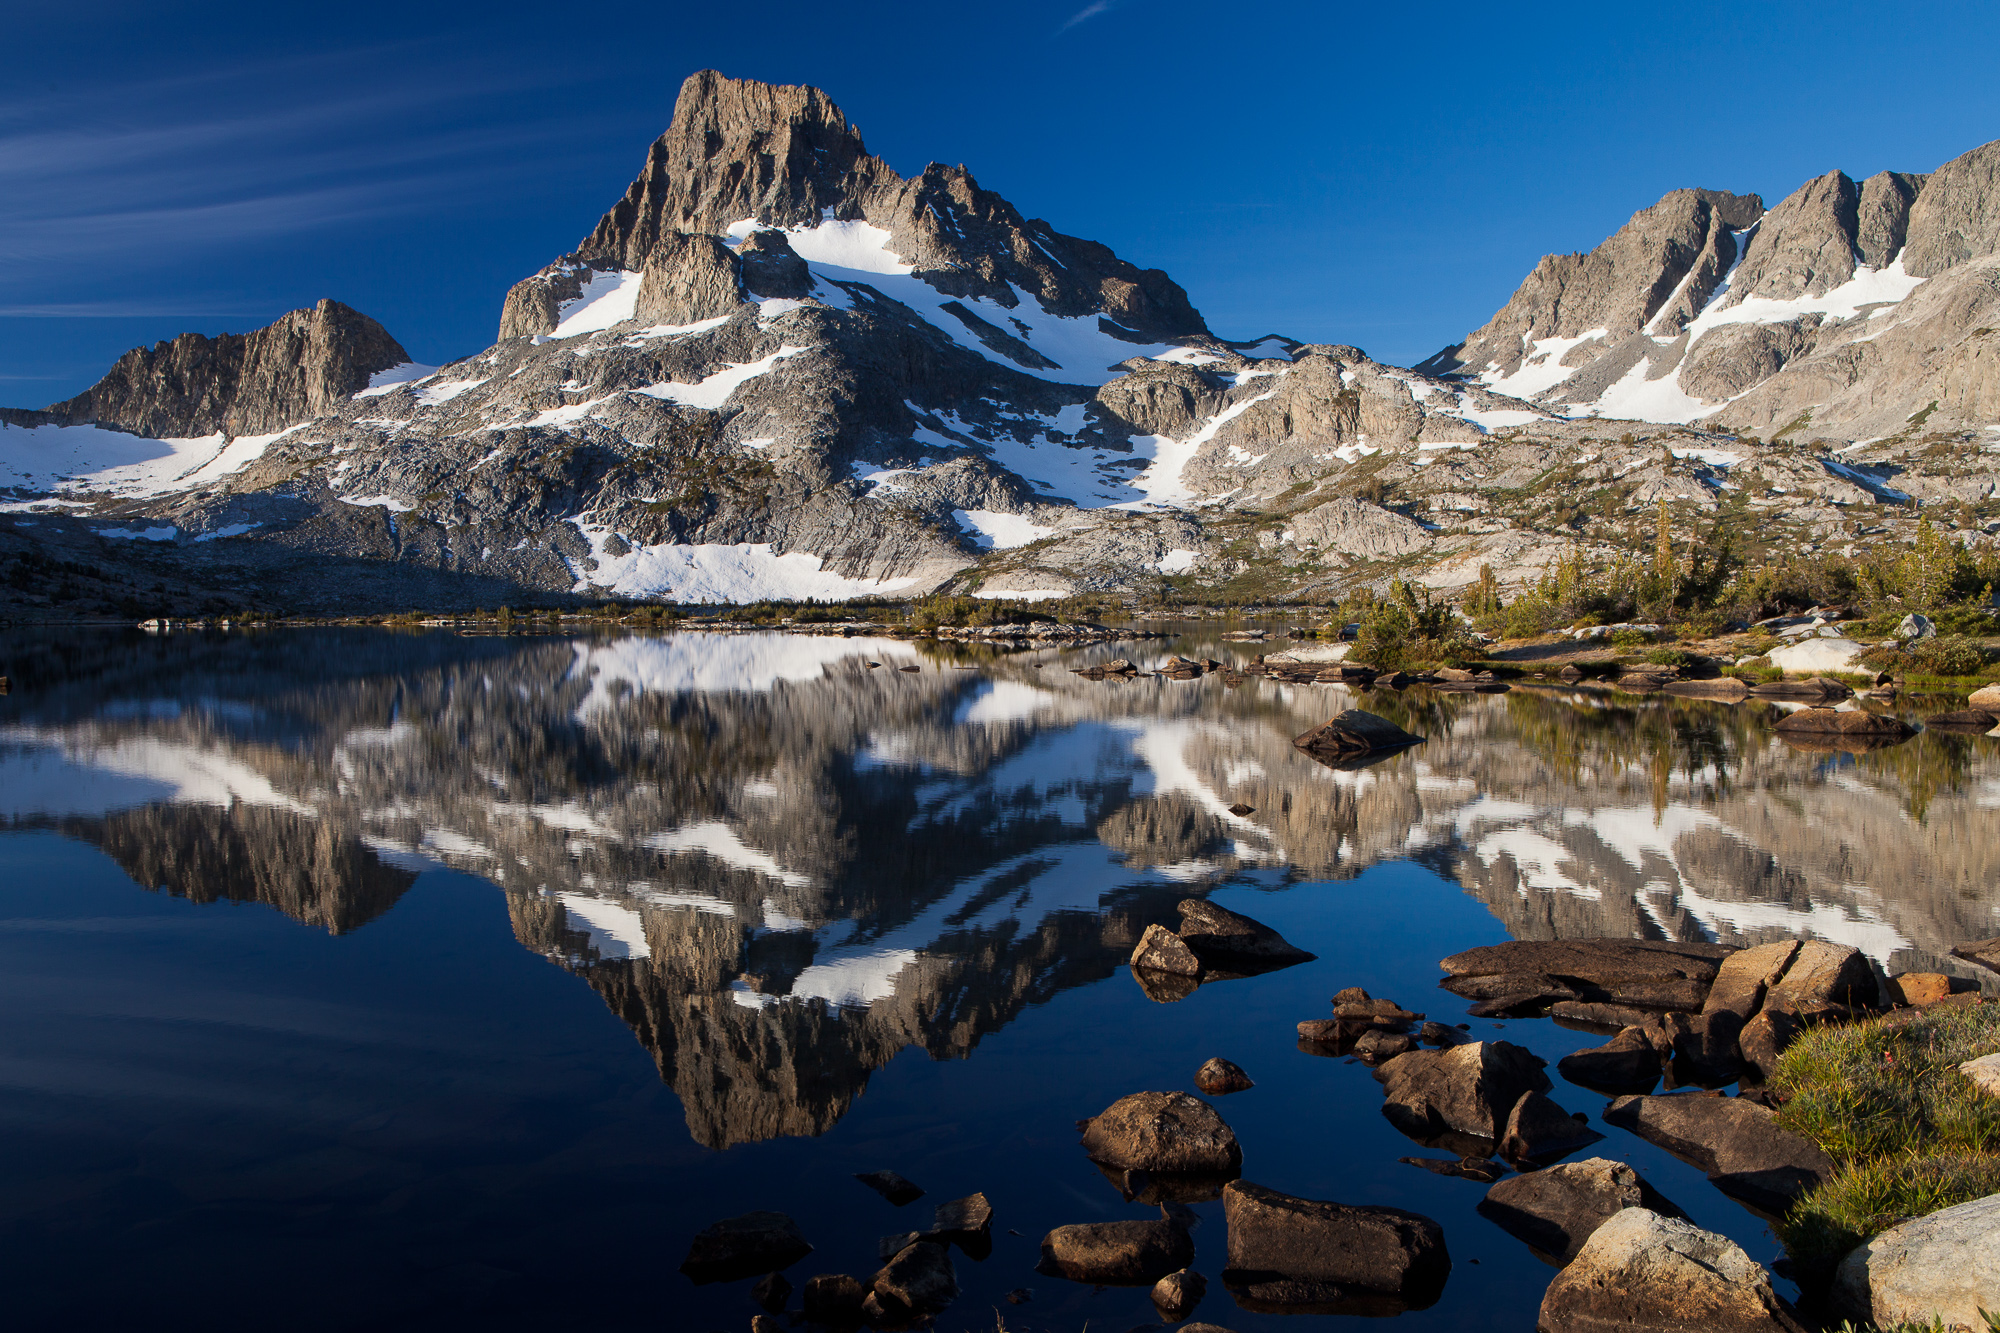
A middle ground typically ties your foreground and background together. Every landscape doesn’t need a middle ground, but I’m always assessing the area around me to find some element that will compliment, or draw the viewers’ eyes toward the background. In this case, Thousand Island Lake itself was a no-brainer. It was a calm morning and Banner Peak cast a strong reflection, doubling the impact of the mountain. Now just to find a proper foreground to lead the viewers eye into the frame, and balance the strength of the mountain.

3. Construct your composition with proper foreground elements:

Banner Peak is reflected in Thousand Island Lake at dawn, Ansel Adams Wilderness

The perfect foreground usually takes some searching to find. If you see a photographer wandering around looking at their feet, this is likely what they are doing. If the angle of the lens is very wide, these foreground elements can sometimes be very small. You can often find several good options for foregrounds using the same middle and background elements. If so, shoot them all! In this case, walking along the shoreline of the lake led me to a line of rocks breaking the reflection of the deep blue sky. Perfect elements to draw the viewers eye toward the reflection and up to the peak itself. With my shot in the bag, I headed back to camp for my morning coffee.

A final word – virtual scouting

Today’s information age brings us many advantages in learning about far away places. Although I think nothing beats learning about a location like visiting it yourself, I often utilize digital exploration techniques before I go somewhere to photograph it. This helps me get my bearings and start to think about what kinds of photographs I’m going to attempt. While I won’t go into detail here, tools such as the Photographers Ephemeris, Google Maps 3D and Google Maps photo overlay help in seeing what others have captured in the area, as well as planning your own trip.

Sun lights the tip of Mt. Davis at dawn, Ansel Adams Wilderness

I often shoot remote mountain locations while backpacking. Every time I pull into a new campsite, I drop my pack and start scouting the surrounding area, thinking about sunset that night, and also sunrise the next morning. As I had never been to Davis Lakes in the Sierra Nevada before, I spent a good deal of time researching the area using the tools above. Based on the time of year and angle of the sunrise, I knew that sunrise light on the peak of Mt. Davis reflected in the lake would look fantastic. When I arrived at my predetermined campsite, I set about finding a composition that would lead the viewer’s eye right up to that beacon of light in the frame. In order to do this, I had to pre-visualize what it might look like the following morning. The next morning, I emerged from my tent and set up in the exact spot I had scouted the previous evening. Now I just had to wait for the light until it was perfect.

Next time you think of a new area you’d like to photograph, spend time beforehand learning about that location. Give yourself plenty of time to explore the area on foot, setting up several potential shots that might work well in the right lighting conditions. Above all, if mother nature does not cooperate with your photo endeavor, don’t despair! Just chalk it up to a valuable scouting trip!

Gear I used to create the photos in this post:
Storm In The Desert

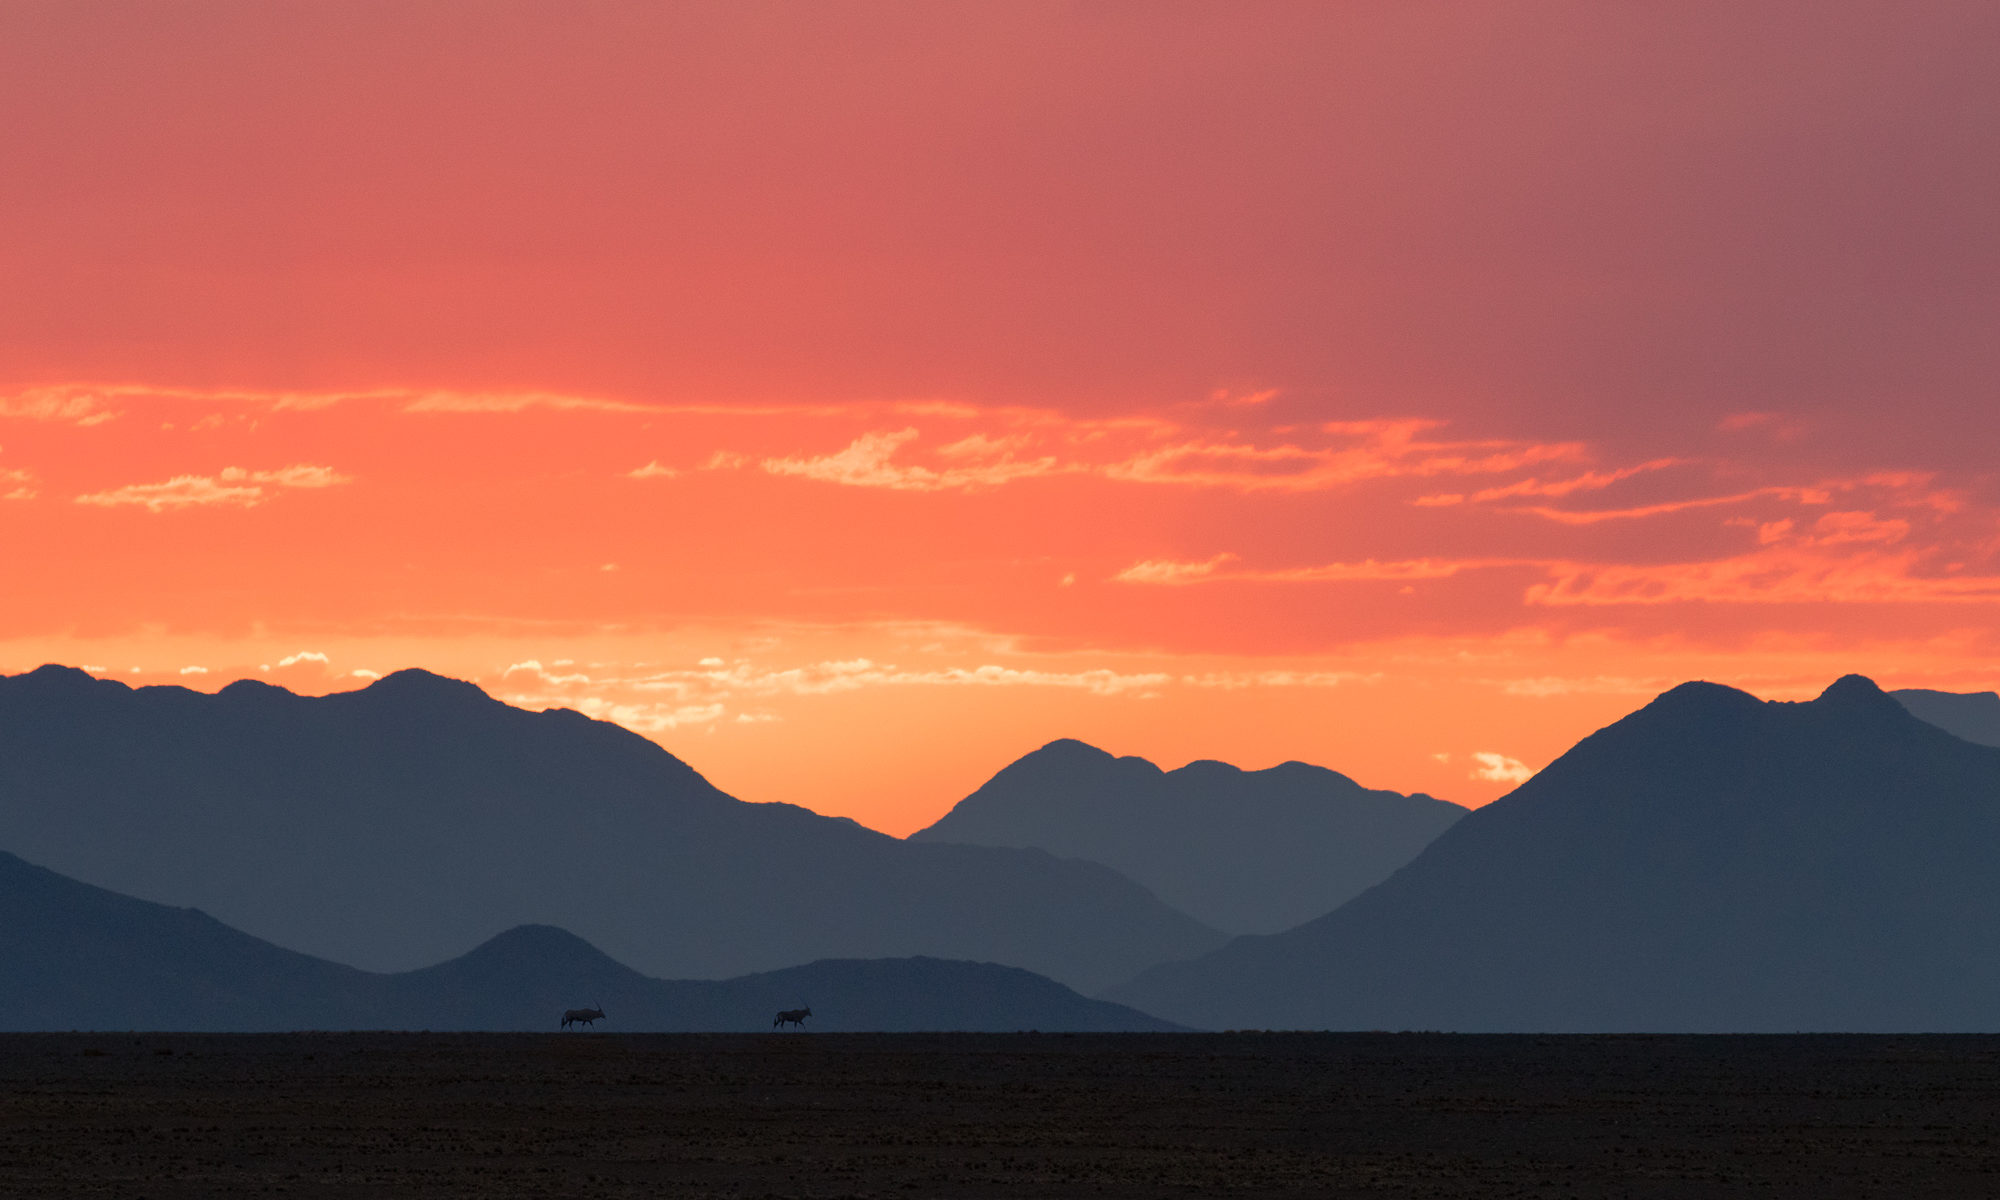
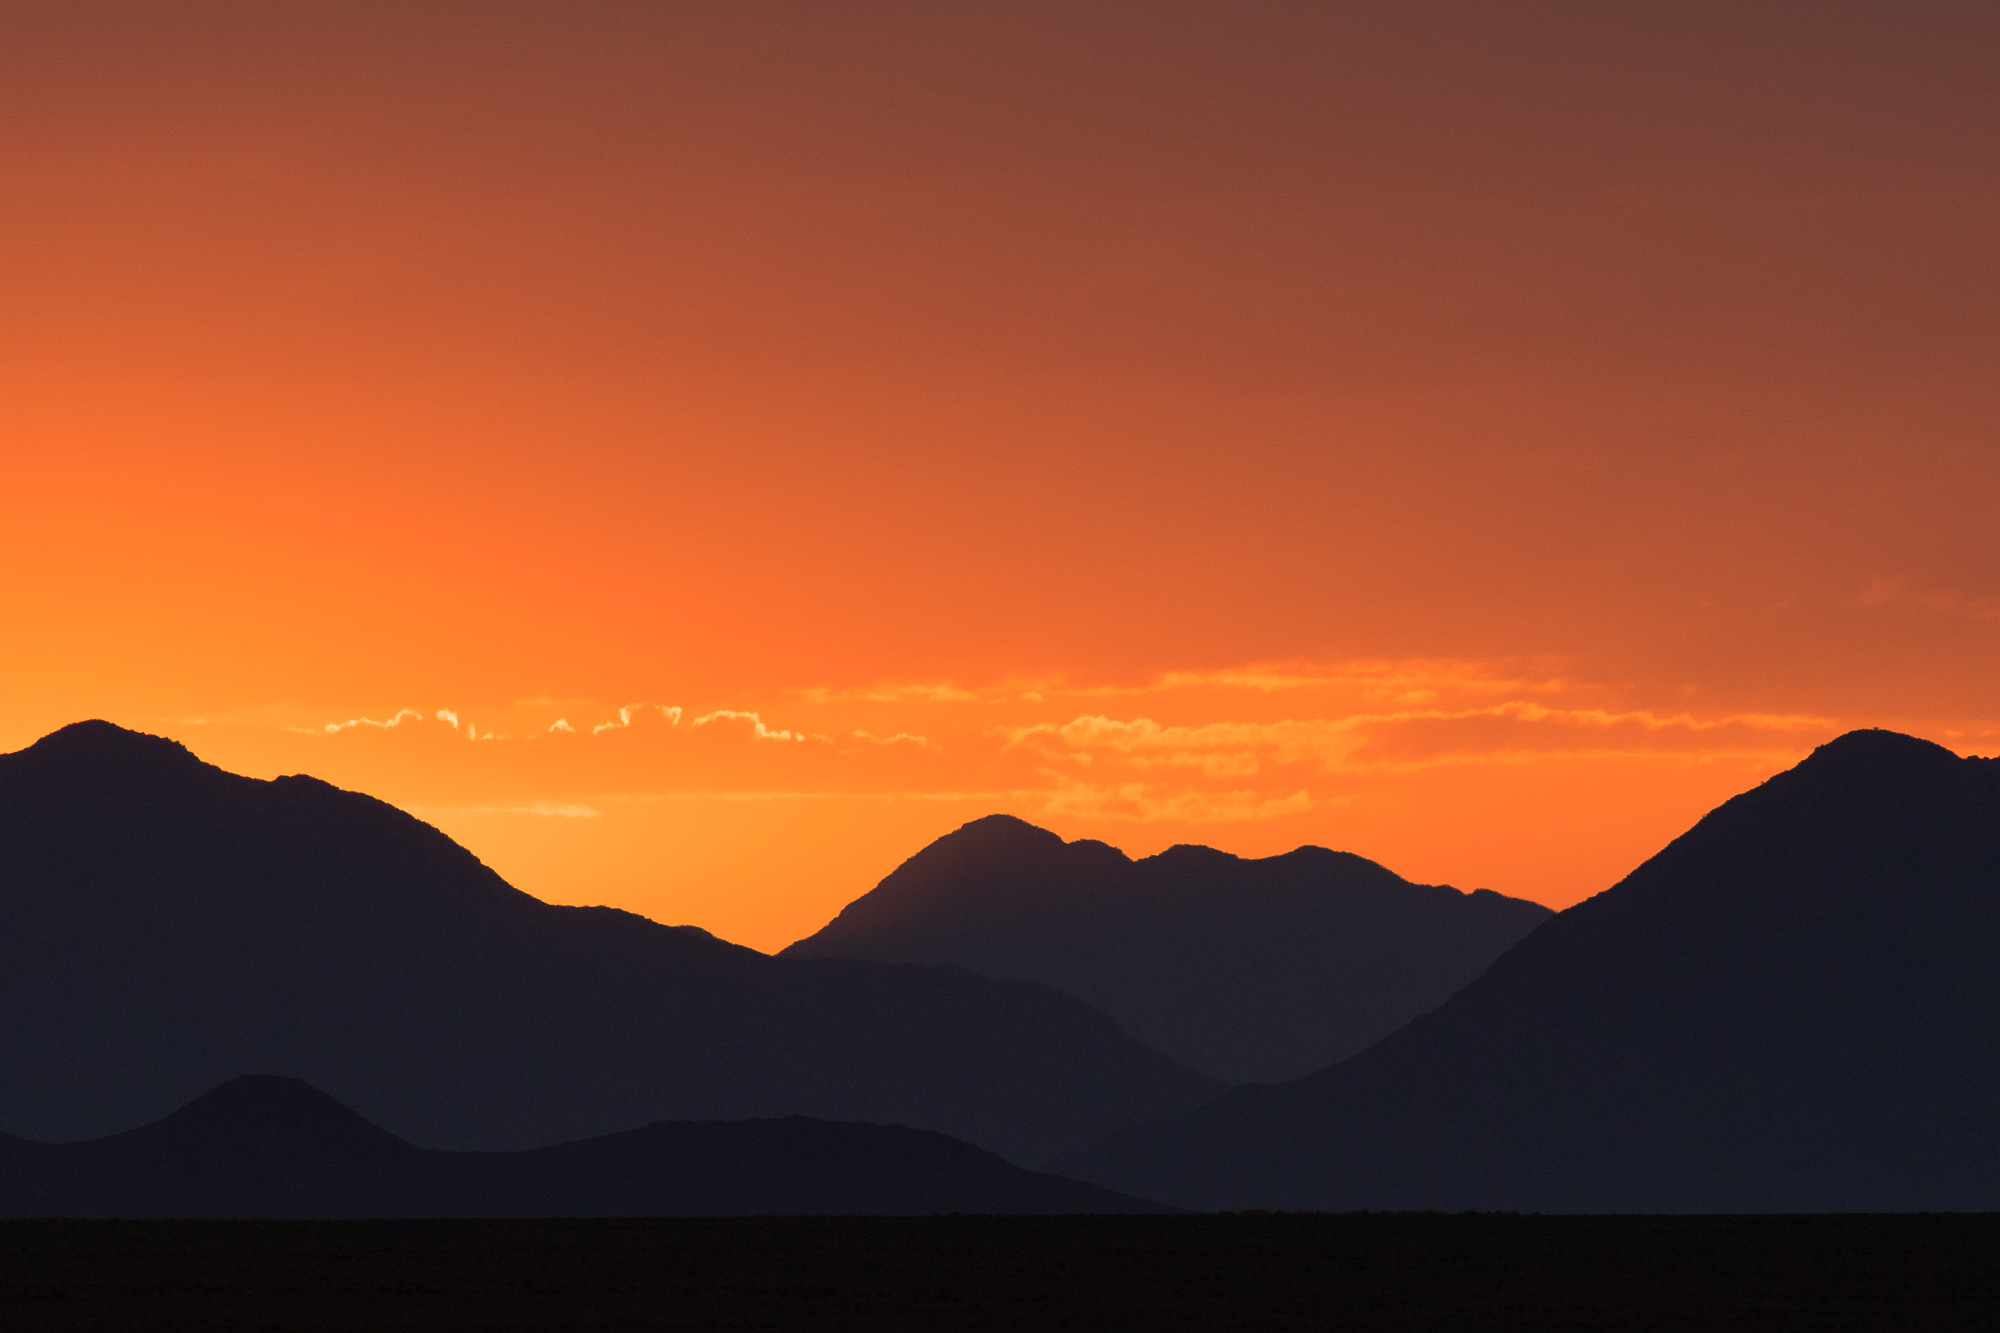
Pre-dawn sunlight turns rare desert storm clouds orange over the Namib Desert, Namib-Naukluft National Park, Namibia.

The crackling of distant thunder woke me from a deep sleep at 4:30 in the morning. Instantly wide awake, I looked to the floor-to-ceiling windows to see flashes of light behind the thick drapes. I made my way out of the door of my bungalow to the balcony overlooking a wide expanse of the desert valley. Suddenly a lightning bolt ignited the night sky, silhouetting the 1000 foot dunes in the distance.

It was my last morning in the middle of the Namib Desert in western Namibia. I stood on the balcony in awe of mother nature’s light show. Lightning continued to split the sky as pregnant thunder clouds rolled across the endless dune fields. A dry cool wind was whipping across the desert floor, bringing respite from the African heat. All at once, the sky opened up and I stood in one of the most impressive downpours I’ve ever witnessed. This land receives only 10 mm of rain each year, and here was buckets of water drenching everything to the horizon.

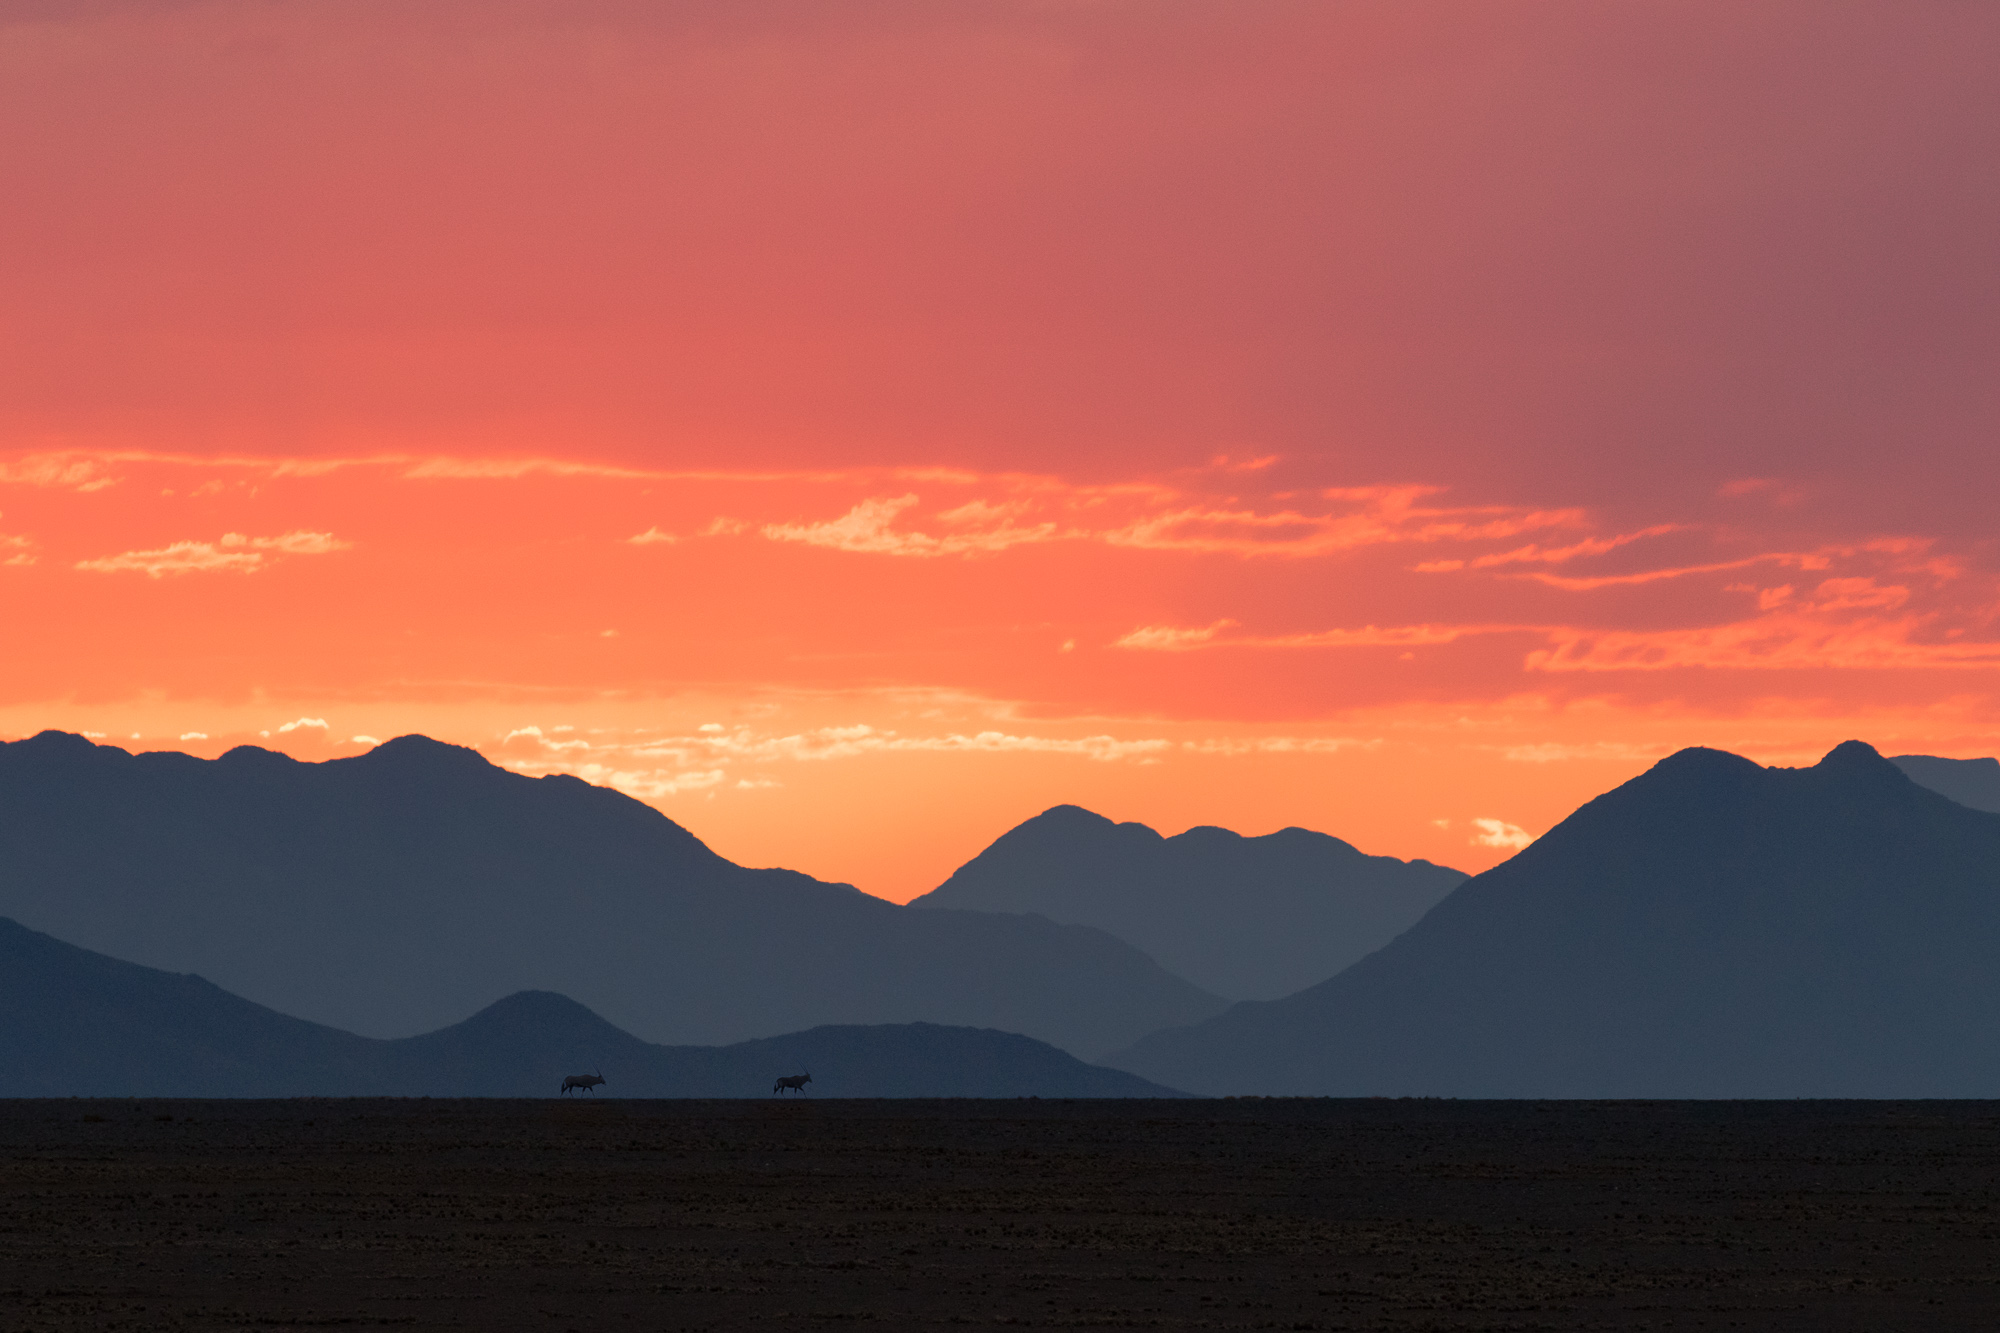
Pre-dawn sunlight turns rare desert storm clouds orange over the Namib Desert, Namib-Naukluft National Park, Namibia.

Although I was now soaked, I found that I couldn’t bring myself to go inside. After twenty minutes of intense rain, it suddenly stopped. Ten minutes after that I was dry, thanks to the return of the desert’s typical aridity.

I gathered my gear and met up with my traveling companions, who I was planning to join to do an aerial shoot at sunrise. Obviously these plans were quickly scrapped, as none of us wanted to be tossed around in a small aircraft in the middle of a thunderstorm. Instead, we headed out into the desert where we got into position to capture this marvelous sunrise over the Naukluft Mountains. Clear sky to the far east allowed the sun to light up the underside of the storm clouds, painting the sky a deep red. A couple of gemsbok oryx crossing the desert floor in front of the mountains added the icing on top.

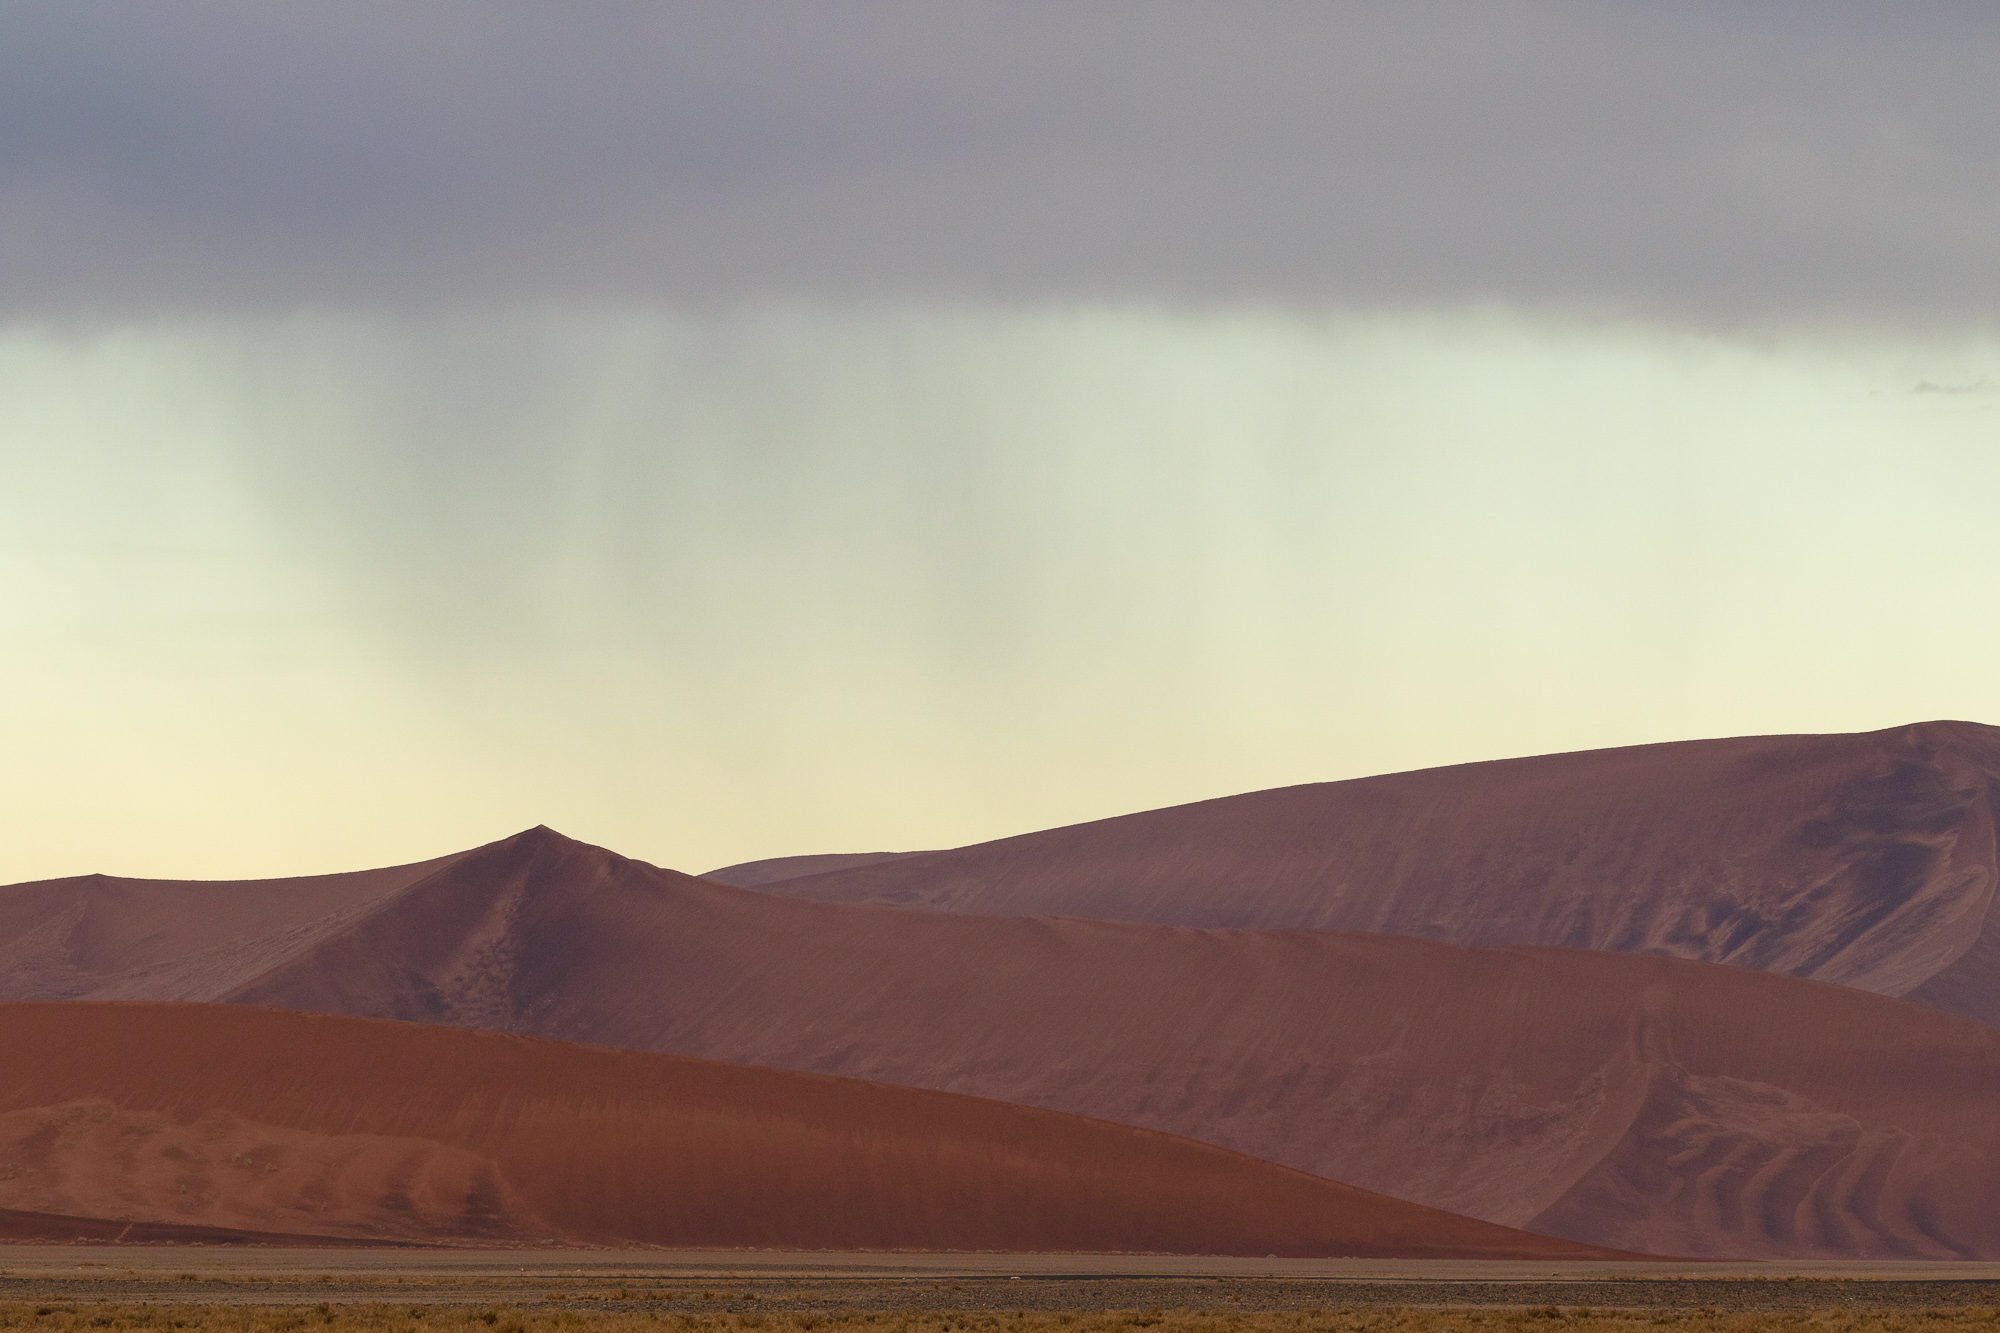
Rain falls from a storm cloud over the Namib Desert, Namib-Naukluft National Park, Namibia.

With rain still pouring from clouds in places, we chased the light through the dunes, hoping to capture this phenomena.

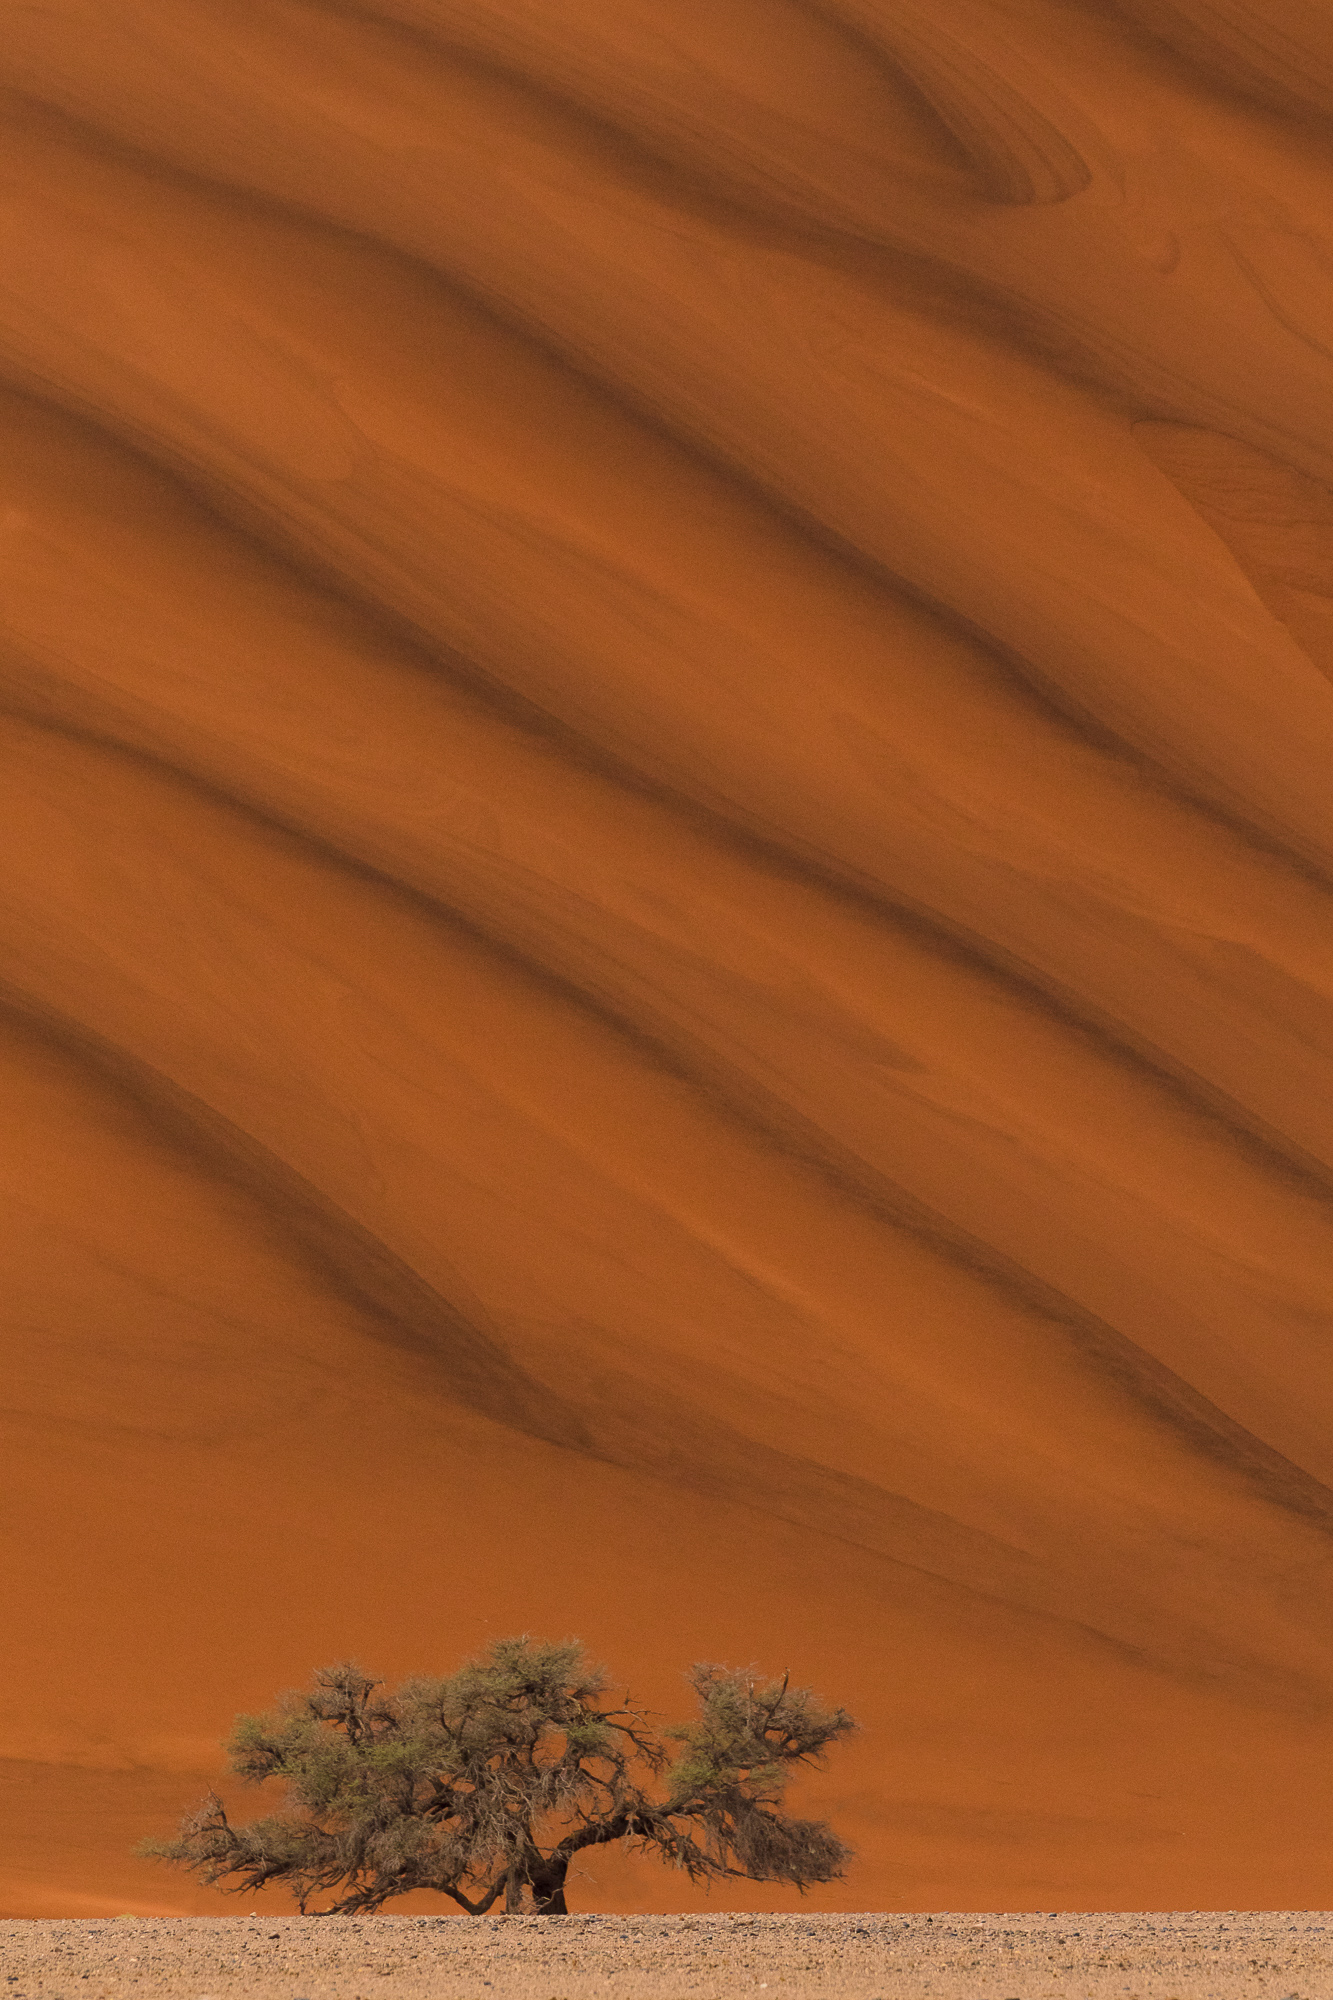
A rare rainfall turns the giant dunes of the Namib Desert wet, forming patterns across the dune’s massive face, Namib-Naukluft National Park, Namibia.

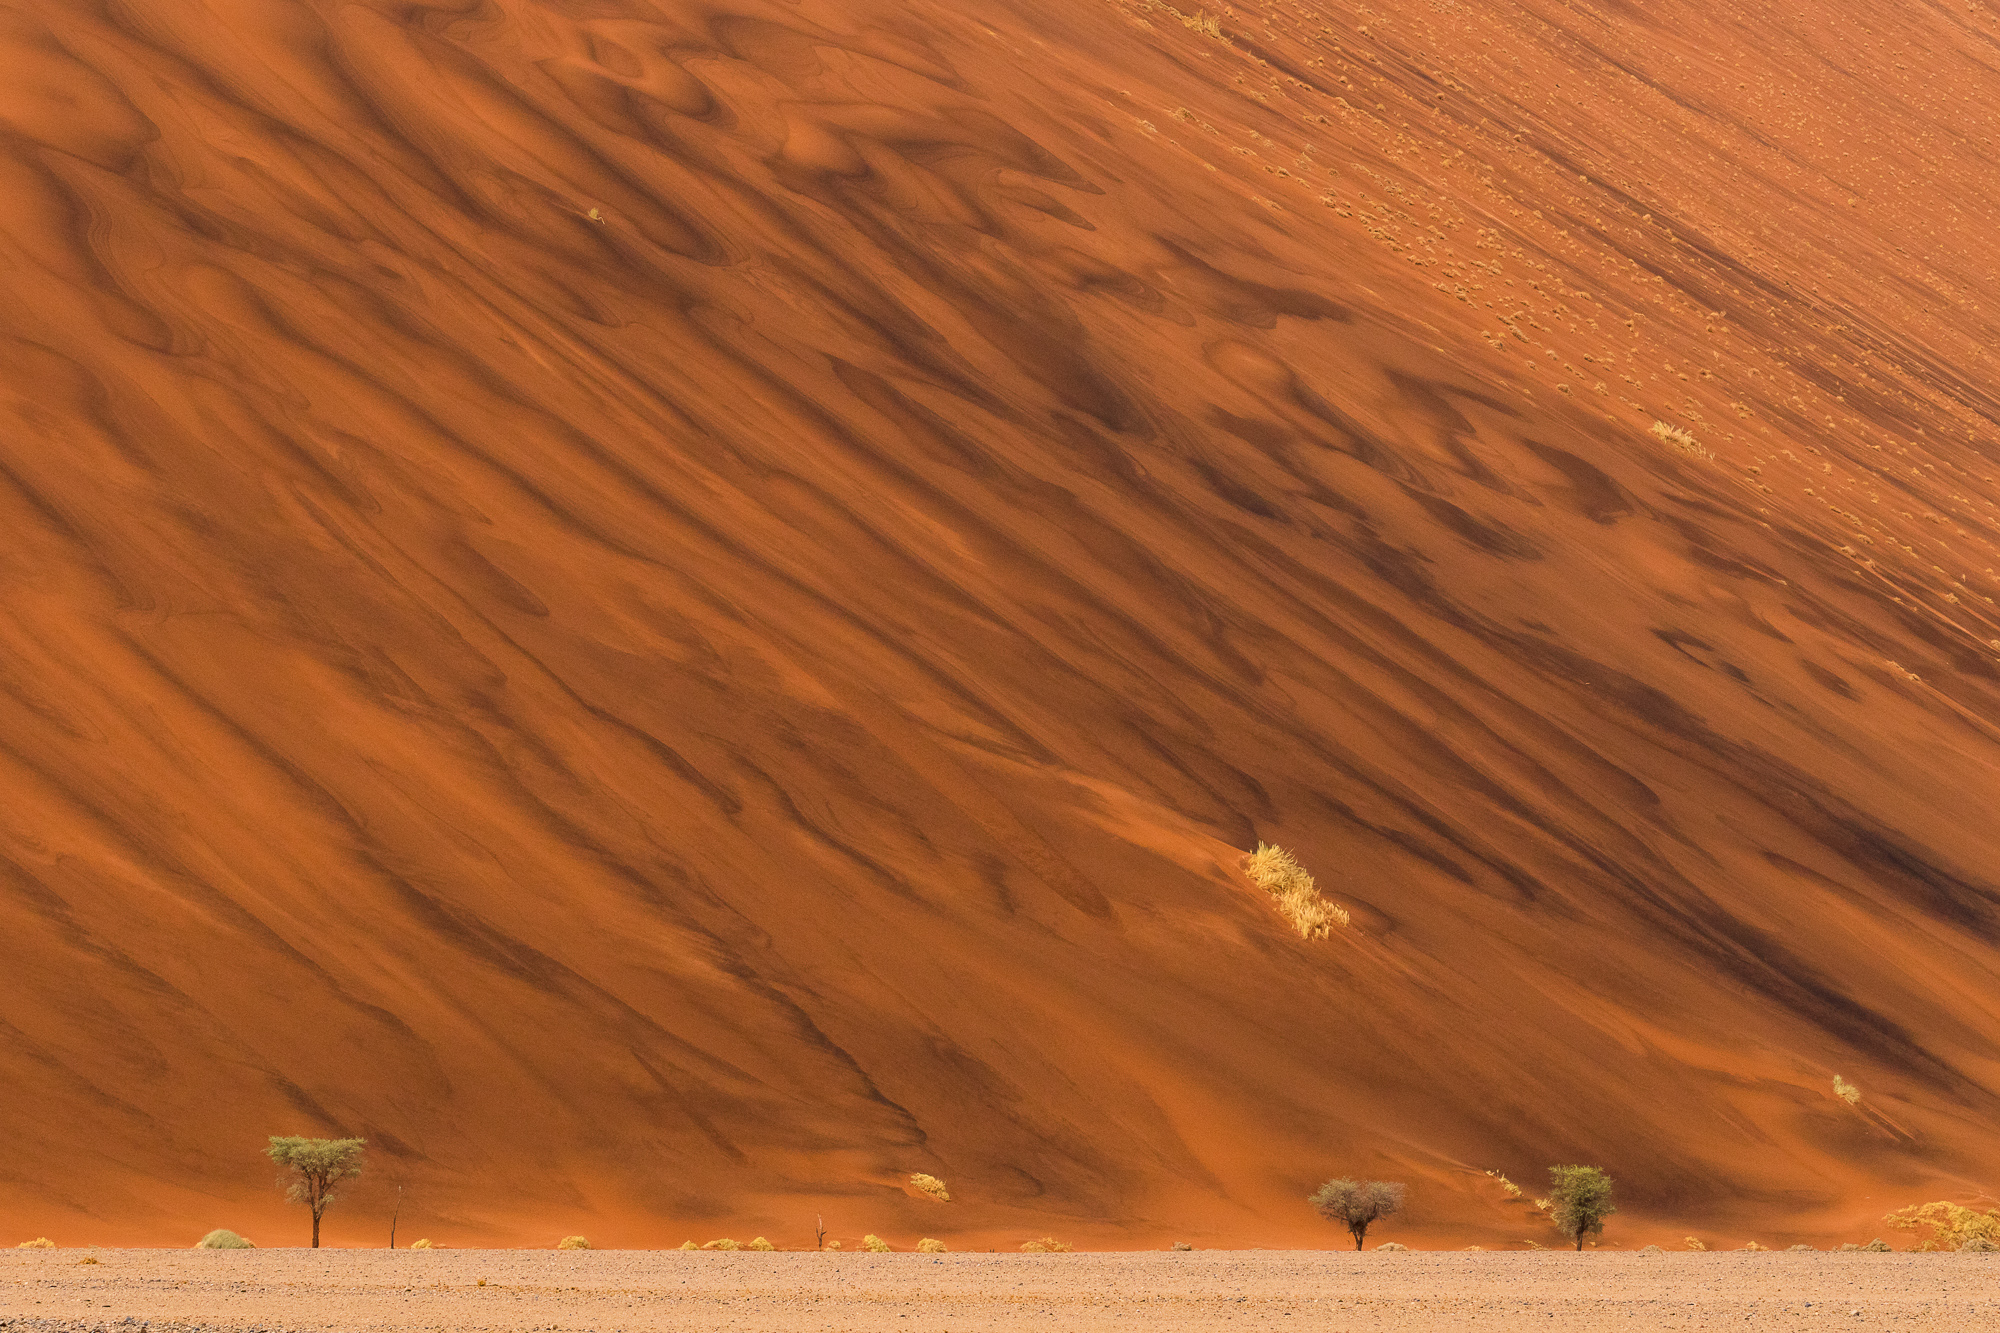
Although there was not enough accumulation to create pools of water (I was hoping to find a reflection opportunity), the wet sand lent a very different look to the massive dunes. The water softened the edges of sand cut by the wind, diffusing the contours into abstract patterns.

A rare rainfall turns the giant dunes of the Namib Desert wet, forming patterns across the dune’s massive face, Namib-Naukluft National Park, Namibia.

After about an hour of dramatic lighting, the skies cleared up into their usual blue. I felt so fortunate to witness such drama on my last morning in the desert.

2016 Round-up – Top 100 Photos Of The Year

In years past, I’ve curated a list of my best 40 photos of the past year. However, with trips in 2016 to India and Africa, I couldn’t whittle down the set to just 40. So here is the best 100 photos of 2016, many of which are previously unpublished. As always, there is a mixture of bird, wildlife and landscape, but this year includes much more wildlife than usual.

Please enjoy the gallery below. For best viewing (especially if viewing on a mobile device), please click on the following photo:

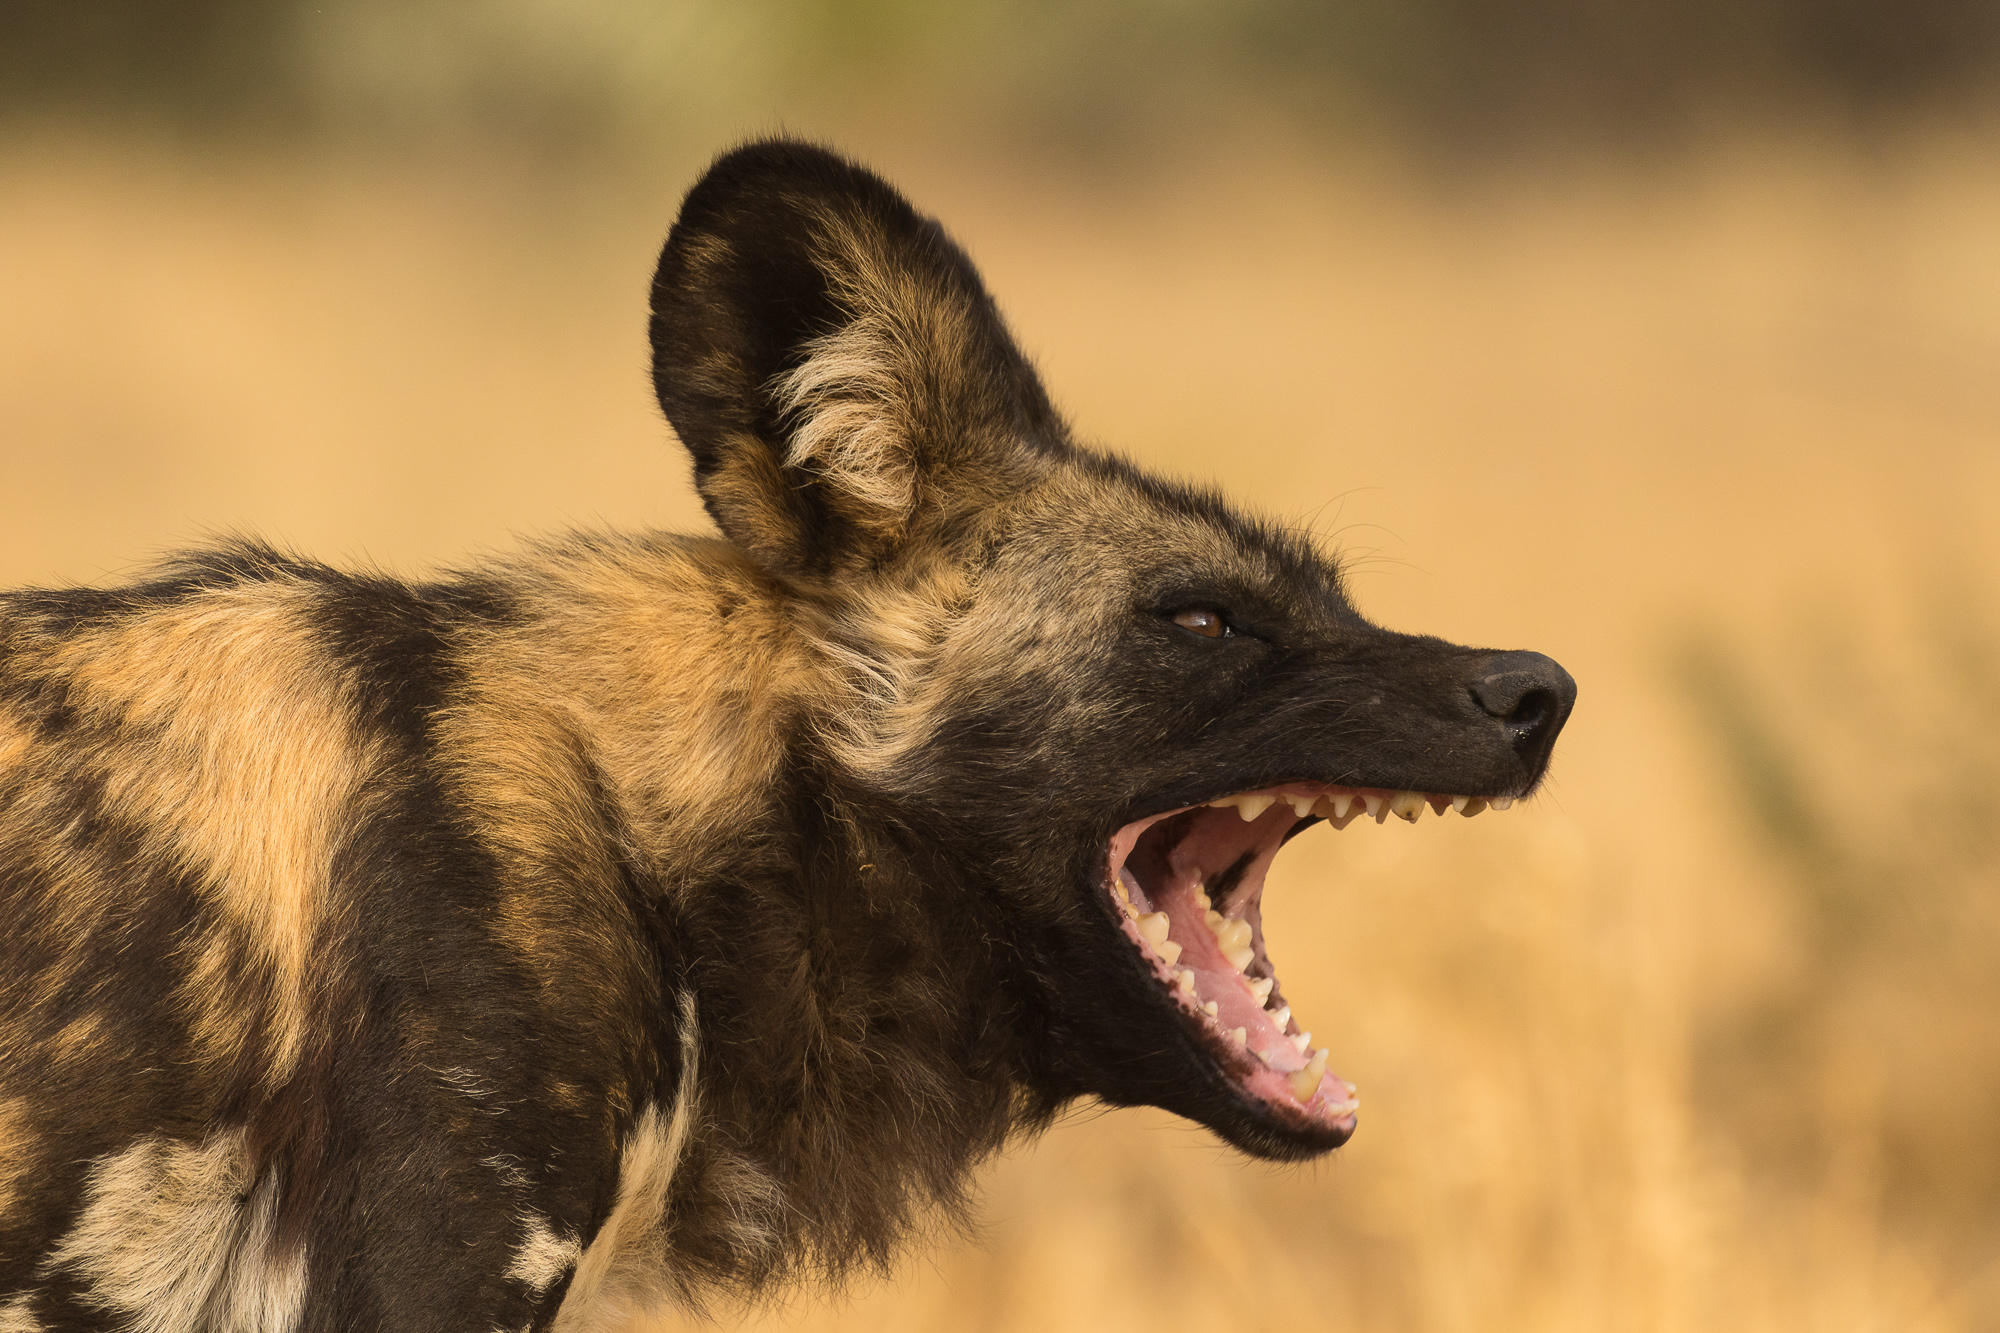
The endangered african wild dog has a hunting success rate of 80% due to its pack hunting and ability to chase large prey to exhaustion, reaching speeds of over 40 miles per hour for 5 – 10 minutes.

To view the gallery, click here to see individual photos.


If you are interested in compilations from previous years, please see the 2010, 2011, 2012, 2013, 2014, and 2015 lists.

Copyright 2017 Hank Christensen