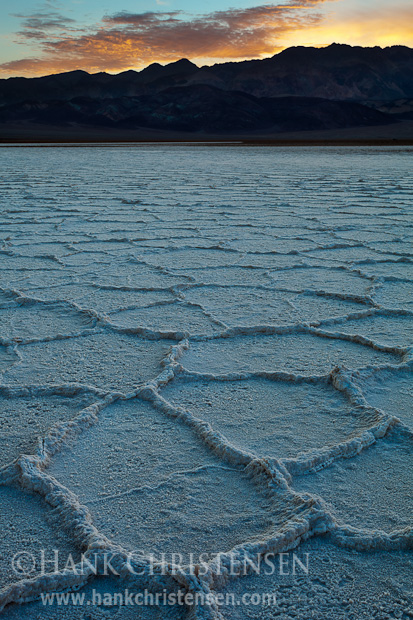
On the final morning of the recent Death Valley Dykinga workshop, we headed to the Salt Creek area in the heart of the park. This year it was dry as a bone, the water evaporating off the salt to form geometric shapes in the salt crust. This morning we only had clouds to the east, so I knew my first opportunity would be sunlit clouds in that direction, as the sun was still well behind the eastern mountains. Walking west from the road, I moved out into the salt pan far enough so that when I looked back to the east, the road was indistinguishable from the mountains. I knew that with my selected exposure, any cars (and other photographers!) would disappear into shadowed insignificance.
With the sun fast approaching, I hunted for the perfect foreground. This can be tricky to see with the naked eye – I can find my compositions better by looking through my viewfinder with the camera off-tripod. Once I see the composition I like, I set up the tripod in that spot. Then it is a matter of fine tuning up or down, left or right until the edges of the frame are just right. For the shot above, I decided not to go too wide because I wanted to fill the top of the frame with the meager clouds.
Instead of using a graduated ND filter, I took two shots – one exposed for the foreground and one for the sky. I knew I’d have more blending latitude on the computer later. I know many photographers who frown on this practice. They preach “getting it right” in the field. I consider that a noble pursuit, but I see my method as more future-proof. As my blending technique improves over time, I can always go back to my originals and recreate a better blend.

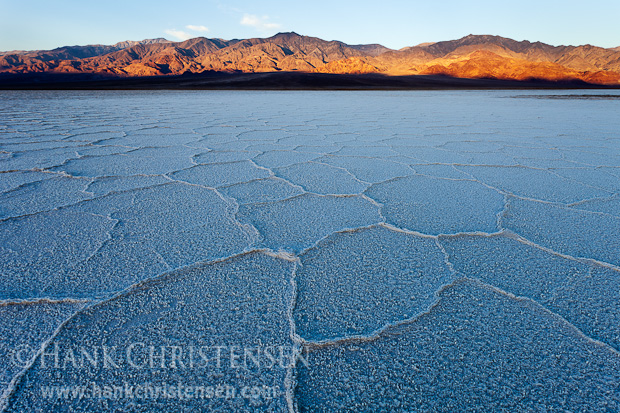
As soon as I was finished with my first shot, I looked west and started pre-visualizing my second desired shot for the morning. This is when I really started getting excited. When the sun rose behind me, it would first strike the top of the western mountains and then start moving down, painting them red and orange (due to the mountains reflecting only the longer wavelengths of light as it traveled through the atmosphere). The whole time, the salt pan would still be in shadow, the pure white salt reflecting cool blue tones. One of my favorite things to do with photography is find places in nature that combine hot and cold tones together. Here was a great opportunity!
There was only one problem. Directly in front of me was a huge patch of dark mud, disrupting the disappearing patterns of the salt pan. I needed to move to the south of the mud field so I had uninterrupted salt pans fading to the base of the mountains. With little time to spare, I mounted my camera on my chest harness, picked up my tripod and ran to the south as fast as I could. As I got farther from the mud field, the ridges of the salt pan grew more shallow, which added a delicate feeling to the salt.
I found my composition, went ultra wide to accentuate the enormity of the salt pan, and waited. The sun had risen behind me and was already touching the highest peaks to the west. As the sun moved down the mountains, I took several safety shots, but I knew that I wanted as much of those mountains in red as possible. Soon the clouds to the east began brushing the mountain tops with light shadow patterns, and I knew this was the moment. Click.
I spent the rest of the morning experimenting with different lenses and techniques, unconcerned about getting anything else of substance that morning. I was pretty happy with my haul.


