The Death of Previsualization?

A photographer stands in shallow water filming a fleeting sunset

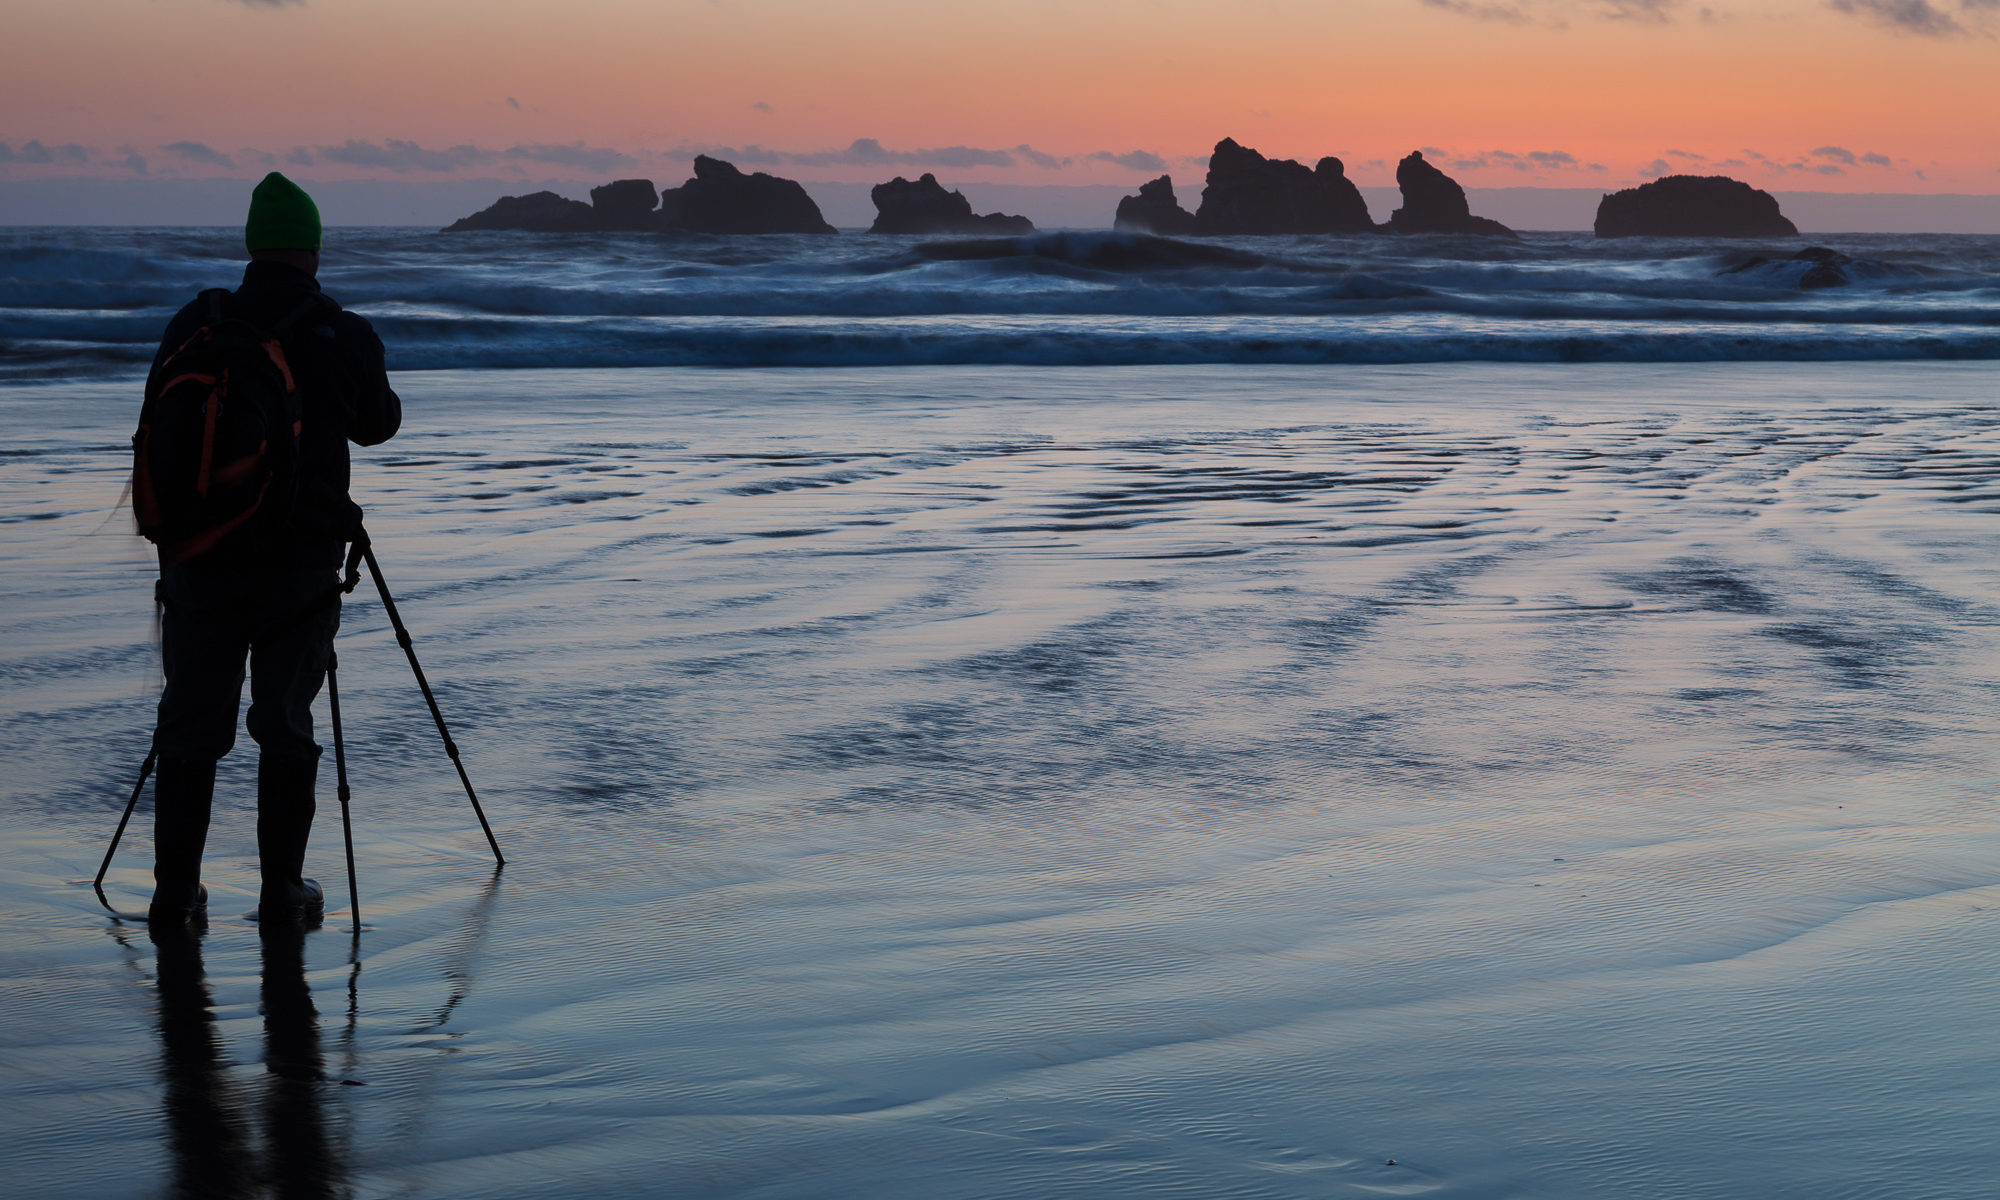
Last week’s post about Yosemite’s natural firefall got me thinking about the late, great adventure and landscape photographer Galen Rowell. A topic that he wrote about often was the importance of pre-visualization in photography. That is to say, as a photographer, it is important to “pre-visualize the way the image will look on film before you take the photograph, instead of merely taking a snapshot with the naïve expectation that the outcome will be like you see.”

As I was learning the craft of photography, I always took this teaching to heart. But is the idea of pre-visualation as important today as it once was? Rowell was emphasizing the importance of understanding how each specific film type captures light and is processed into the resulting photograph.  Very few of us still shoot with film, so does the same concept hold true in the digital age?

As anyone who has learned photography with a digital camera can attest, being able to see the results of your work instantly in the field greatly accelerates the learning process. In other words, if you get the settings wrong when capturing an image, in most cases you can review the image, correct for any mistakes, and shoot again. The necessity of understanding how the camera sensor will capture the subject is diminished.  Of course, this may not hold true with certain types of action or event photography, as you might miss that critical moment.  But even with wildlife, I often take a few sample shots and review them to make sure my settings are in the ballpark of correctness.

The need for this type of pre-visualization falls apart even more when moving from DSLR to mirrorless photography. Mirrorless cameras have an electronic viewfinder, allowing the photographer to see a “live” view of exactly what the camera’s sensor sees. Here the photographer knows exactly what the image will look like before ever pressing the shutter.

So maybe Rowell’s original reasons for the need to practice pre-visualization have faded over the years. However, not all digital photographic results are directly correlated to what the photographer sees on the back of the camera. If the photographer is truly thinking digitally, they may be overexposing in order to capture more digital information in their final photo (exposing to the right). Or they may be thinking about capturing certain elements of the frame to use later in digital blending. Using techniques such as exposure blending, panorama stitching, or ISO blending all require some degree of pre-visualization of the final intended outcome.

Although the need to understand how the camera settings ultimately interact with the specific film you are using may no longer be valid for most photographers, the need to understand what you are trying to create and how to control the camera in order to achieve that vision may be more important than ever. The tools may have changed (film vs final digital output), but the concept is the same. The better you understand what you’re working with, the more predictive you can be about your desired outcome, and therefore, the better you’ll be able to prepare for that desired result in the field.

Gear I used to create the photos in this post:

Use Lightroom’s Match Total Exposures Feature For Quick And Dirty Panoramas

A great blue heron stands along the shore of a canal in early morning light

When I shoot landscape panoramas, in addition to tripod use and careful alignment, I always follow one basic technique – set my camera in manual exposure mode. To determine the optimum exposure for a panorama, I set my aperture (typically between 11 and 16 for landscapes), and meter different parts of the scene. I select the brightest portion of the scene and over-expose the meter to a point that no highlights are blown out. Then I set the camera to manual exposure, dial in the appropriate shutter speed, and I’m ready to capture all the frames of the panorama, knowing that they will blend together nicely in post production.

However, when I am photographing birds or wildlife panoramas, I am often forced to use quick and dirty techniques. These panorama situations usually arise when I am close enough to an animal that their face can fill an entire frame, but I still want to capture their entire body. Instead of backing away, I usually resort to taking multiple overlapping images, knowing I can stitch them together later. This often happens with large water birds such as this great blue heron, that are docile enough to allow me to get close.

Because I know that the animal can move at any time, I need to be quick with my overlapping photos, taking them in rapid succession. This means I don’t have time to carefully meter the scene and dial in the optimum exposure. Usually I will leave my camera in aperture priority (for overlapping photos to stitch together, aperture MUST be the same throughout all images) and let the camera decide the exposure. Usually no photo is more than 1 stop from any other photo.

Now that I’ve taken my photos and have imported them into Lightroom, I need a quick way to align the same exposure across all photos. Enter the “hidden” Match Total Exposures feature.

Use the Match Total Exposures feature to synchronize the exposures between frames that will make up a panorama.

I pick one of the photos with which to optimize the exposure. Once I’ve adjusted the exposure slider to my liking, I select all the photos in the series and click the menu Photo->Develop Settings->Match Total Exposures. All of the other photos in the series will move their exposure sliders up or down so that the adjusted exposure is matched to the original. For example, let’s say we have three photos all shot at f/5.6, with the following shutter speeds: 1/500, 1/250, and 1/1000 (the exposures will typically be much closer, but I’m using easy math for illustrative purposes). If the first photo (1/500 seconds) is selected as the original to match, then the exposure slider for the second photo will move up one stop and the exposure slider for the third will move down by one stop. This is a quick and easy way to make sure the exposures for all photos in the series are similar so that they blend properly.

Once I’ve adjusted all the exposures, I keep them all selected and click Photo->Edit In->Merge to Panorama in Photoshop. This will result in a perfectly blended panorama.

Pied-billed Grebe (Photo of the week)

A pied-billed grebe swims through still water
A pied-billed grebe swims through still water. Canon 800mm f/5.6L IS lens with the EOS-7D. ISO 800. Evaluative metering +2/3: 1/1000 sec. at f/5.6

My photo pick this week is of a pied-billed grebe that I found swimming alone in a narrow channel in a neighborhood near my house. The afternoon light reflected off of the rocks in front of me, which acted as a diffuser, giving me night even light across the scene. Houses along the opposite shore cast the water in a reddish hue.

As always, I tried to get as close to eye level with the bird as possible. However, it was difficult to do so in this spot, requiring me to pick my way over sharp rocks to get close to the water. True eye level was impossible here, as the channel was only about fifteen feet wide, and the immediate shore was too steep to set up my tripod. I made the best of the given situation, unfolding two of the legs so that they were close to flat, with the third tripod leg longer and pointing downhill, almost touching the water. Then I sat down underneath and behind the camera – giving me a comfortable position from which to shoot, while still allowing good hand support for my lens. It also lowered my profile and allowed me to be absolutely still, which will usually allow the target bird to approach closer instead of swimming away (which they often do!)

A pied-billed grebe swims through still water calling out with its beak open
A pied-billed grebe swims through still water calling out with its beak open. Canon 800mm f/5.6L IS lens with the EOS-7D. ISO 640. Evaluative metering +2/3: 1/250 sec. at f/8

By remaining perfectly still, I was able to photograph this grebe for a while as it swam back and forth in front of me. The narrow channel kept the wind off the water, creating great reflections.

When I’m out specifically photographing birds, I look for two things – either an uncommon species that I haven’t photographed before, or a great shooting situation with good light and the right aesthetics to create a good photograph. I’ve photographed pied-billed grebes before, but this was a situation I couldn’t pass up because of the nice light, great reflections, and close proximity to the bird.

Steal these tips! – 5 ways to take better photos without buying any gear

Ever get tired of all the ads that tell you that to take better photos, all you need is this new camera or that new lens? If so, this article is for you. Almost everyone has a camera of some kind these days – point and shoot, SLR, cell phone. The tips below will work with any kind of camera out there, and will improve the photos that come out of them without requiring the purchase of a single new item.

A bad portrait of a man in poor lighting
A typical snapshot - overall, pretty bad
A portrait of a man in a dress shirt from above
A better shot, using some of the tips below

I took the photos of my brother above with my iphone. This camera has no flash, a crappy lens, and no controls of any kind other than taking the photo. Using some of the techniques discussed in this article, I was able to add interest and improve the quality of the photo.

1. Stabilize, stabilize, stabilize!

This is perhaps the most important tip here – do anything you can to keep the camera still while taking photos. This usually means using a tripod (and I’d definitely recommend that whenever possible – it’ll change the way you do photography!) But if you don’t have the funds (or the patience) to use one, there are many other ways to keep the camera stable. Get an old grocery bag and fill it with dry beans. Place this make-shift beanbag on anything you can find – rocks, tree stumps, table tops. This will give you a malleable surface from which to position your camera. If that isn’t available, lean up against a tree or wall and hold the camera tight against your face, bracing your elbows against your torso. Hold your breath and shoot.

2. Shed some light on the subject

The darker the subject, the longer the shutter speed required to get the proper exposure. Getting some natural light on your subject will improve the photograph dramatically. Indoor photography (even in the middle of the day), usually has less light than desired. Open some windows to bring in natural light from outdoors, or if possible, bring your subject next to a window. Strong directional light against a dark background can have dramatic effects.

Shooting outdoors with a harsh mid-day overhead sun? Try shooting your subjects in the shade to even out the light. Get a large piece of cardboard and some aluminum foil and build a homemade reflector. With a reflector you can bounce that harsh noon sunlight onto your shaded subject, giving you plenty of light to work with.

3. Find a new angle

Shooting your subject from a lower or higher vantage point can differentiate your shots from the rest of the pack. Think creatively about new ways to capture a subject you’ve seen over and over again.

A portrait of a boy smiling from above.  Green moss background.
By moving above my nephew with him looking up at me, I added interest to the photo

I took the photo of my nephew above for his family’s Christmas card. I found a fence to climb, and had him stand below me on some bright green moss. This new angle added interest to what would otherwise have been a mundane straight-forward portrait with a background of trees.

4. Don’t center your subject

Anyone who’s been around photography a while will immediately recognize the rule of thirds. But it’s important, so I’ll repeat it here. Using two imaginary vertical lines, divide your photo area into three equal sections. Now do the same horizontally. There should be four places in your photo area where the imaginary lines intersect. The rule of thirds says that the main subject of the photo should appear in one of these four spots. Unless your photo is specifically illustrating some form of symmetry, avoid placing your main subject in the middle of the frame.

The example below demonstrates applying the rule of thirds. Which photo looks better?

Here the mallard is centered in the frame
A mallard flaps its wings as it preens
By moving the subject to the right, in keeping with the rule of thirds, the photo looks better

5. Edit ruthlessly

This tip doesn’t technically concern the “taking” of photos, but rather what to do with them afterward. Everyone takes crap photos. The pros just take fewer of them, and know enough to get rid of them when they do. Next time you’re reviewing photos from your last vacation or outing, don’t be afraid to delete the misses. In my early years of photography, I was as guilty of this as anybody. I kept EVERYTHING. And yes, with today’s storage, you can technically keep everything that ever comes out of your camera forever. But really ask yourself, do you ever want to actually go back and look at all the bad shots you took?

A friend of mine (I won’t name any names) once took a two week trip to Europe. When he came back, he asked if I wanted to see his vacation photos. “Sure,” I said, “how many do you have?”

“Oh, about 5,000.”

“What?!” We waded through shot after shot of the same subjects, taken as he tried to get the photo he wanted. Needless to say, we never got through them all. And the unfortunate part was that I missed all the gems that I’m sure were in there. So, throw away the crap, or at the very least, pick your winners and copy them to a separate location. When asking your audience to view your photos, having an edited collection will change their response from “Oh, do we have to?” to “Yes, please!” And I’ll bet you never look at your garbage folder again.

As the saying goes, all rules are meant to be broken. Such is true with each tip above. For each tip, there are situations in which they may not be the best choice for one reason or another. But by in large, keeping these in mind when I pick up my camera helps me focus beyond all the bells and whistles of the camera. It pays to occasionally get back to basics and remember the simple things we can do next time we’re out trying to capture that perfect shot.

Copyright 2017 Hank Christensen