Sometimes capturing a scene that has very bright and very dark areas with a camera can be impossible, because both film and the digital sensor can resolve fewer stops of light than the human eye. Traditionally, this limitation was overcome by using a graduated neutral density filter, which darkened the bright portions of the scene to allow the film to expose the entire scene correctly. With the advent of digital technology, there has been a trend to move instead to post processing and digital manipulation to achieve similar results.
HDR (or High Dynamic Range for the uninitiated) has been sweeping the digital photography world for the past couple of years, mostly thanks to some new software that makes creating these images easy. The goal is simple: use several shots of the same scene at varying exposures to create a single image with a greater dynamic range (the range between pure white and pure black) than your camera can capture. Unfortunately, this goal is usually not achieved with results that look correct to the human eye. The final images appear flat and with low contrast, and the colors tend look almost cartoonish. This can be overcome to some degree by increasing the black level and overall contrast – however correcting the color issue is difficult.
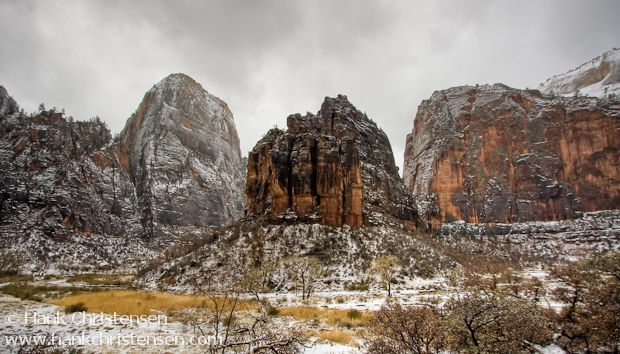
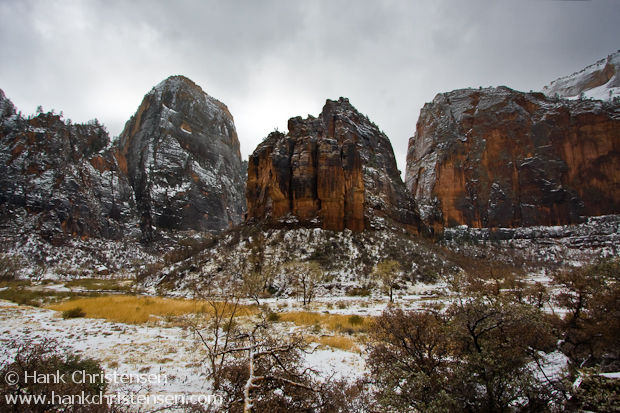
The solution is to go back to digital basics. Instead of letting software automatically combine 3 or more shots at different exposures, combine 2 or more images yourself in an application such as Adobe Photoshop using stacked layers and various blending techniques. Photographer Glenn Randall covers some of these techniques and the principals behind them in his recent article for Outdoor Photographer magazine. The images below demonstrate using image blending verses an HDR software approach.

The above image was created by blending three photographs of different exposures together using software. Once this was done, the contrast was increased significantly. However, as you can see, the colors still look unnatural, with too much yellow in the rock. In addition the two rock faces in the background are washed out.
The image below combines two the the images used to create the previous image. The foreground and mountain were exposed with no evaluative metering compensation. The sky was exposed in a second shot at -1 stop, and blended into the foreground using a graduated mask. The result is more natural looking.

Some people like the aesthetic of HDR images, and that is great. It brings a new artistic flair to the world of digital photography. But since I am usually trying to create a final photograph that accurately portrays what I see in nature, using the blended approach often works better for me.
