Why I’m Buying the Canon 7D Mk II

This week Canon finally released their long awaited successor to the very popular (5 year old) 7D. The 7D is one of my main workhorse camera bodies, used primarily for bird and wildlife photography.

Canon 7D Mk II

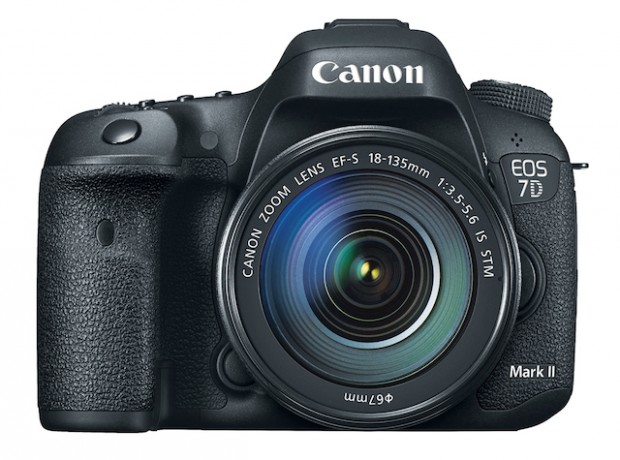
Here is a rundown of why I have already pre-ordered the Mk II. These are the features that are most important to me based on the type of photography I will do with this camera.

Most Important Features

  • APS-C sized (cropped) sensor.

The smaller size of the sensor on this camera is what sets Canon apart from many competitors, who seem to be pushing the high-end pro-sumer market to full frame cameras. Canon still sees a space in the lineup for APS-C sensors, and so do I.  I will primarily use this camera for action (wildlife and bird photography), so having the extra "reach" will be a big benefit to me.

This factor prevented me from considering the 1DX for wildlife work when it came out. Although that is a fantastic camera, I couldn’t justify losing the 1.6X “zoom” factor that a cropped sensor gives me. The 7D Mk II has a much higher pixel density than the 1DX (20 MP on 7D MkII vs 18 MP on the 1DX), which will allow me to capture more detail. In fact, if you compare the pixel density of the same area of sensor between both cameras, the 1DX only has just over 11 MP compared to 7D Mk II's 20 MP.

  • f/8 auto focus capability.  

This has been under-reported on, but is a huge feature for my use. Allowing auto-focus to work down to f/8 means I can pair my 800mm f/5.6 lens with a 1.4X tele-extender, which gives be an effective maximum aperture of f/8. This combo also gives me the 35mm equivalent of a whopping 1792mm, a distance I’ve never been able to use auto-focus with before.

Having this kind of distance flexibility to work with can get me closer to the action without spooking or antagonizing my target species.

A burrowing owl stands on a small berm overlooking its burrow

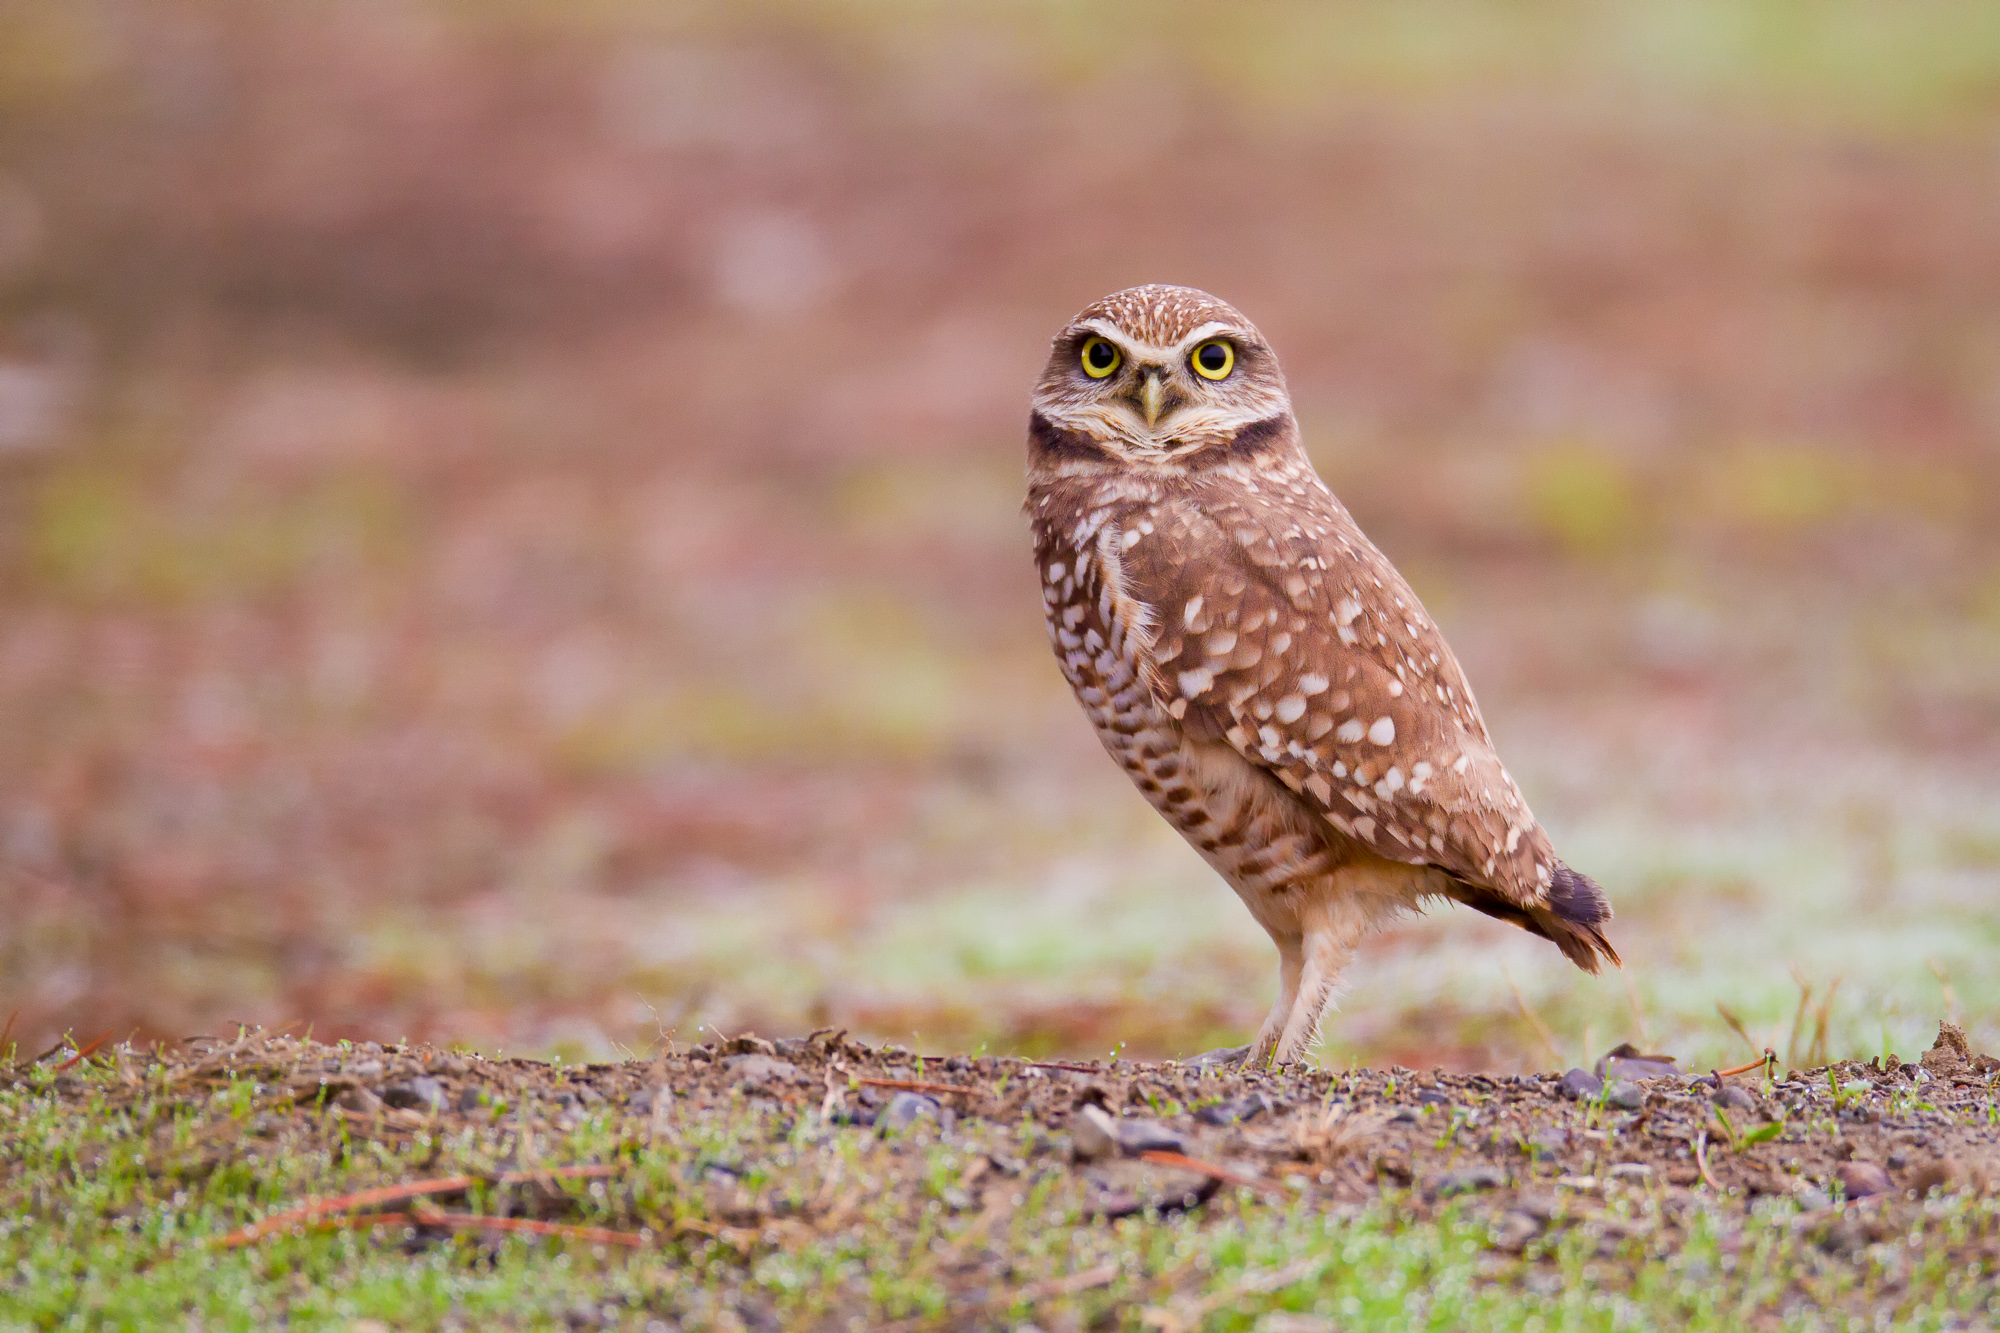
Species like the endangered burrowing owl will become stressed if you get too close. If it is only watching you, then you are too close – it should be constantly swiveling its head looking skyward for predators.

  • Improved AF tracking (including low light) [65 all cross-type auto-focus]

There is nothing worse for a bird photographer than to patiently wait for your subject to take flight, only to watch the bird fly away as your camera is hunting for focus.  Having the best of class auto-focus will ensure my equipment will not be the one at fault.  In the future, I'll only have myself to blame!

Having so many auto-focus points for the camera to choose from means that the auto-focus algorithms can track a subject throughout much of the frame.  Cross points allow auto-focus on horizontal and vertical lines throughout the frame.  This means faster, more accurate focus seeking and tracking.

A barn owl flies low over a field, hunting for rodents just after sunset, Bodega Head, California.

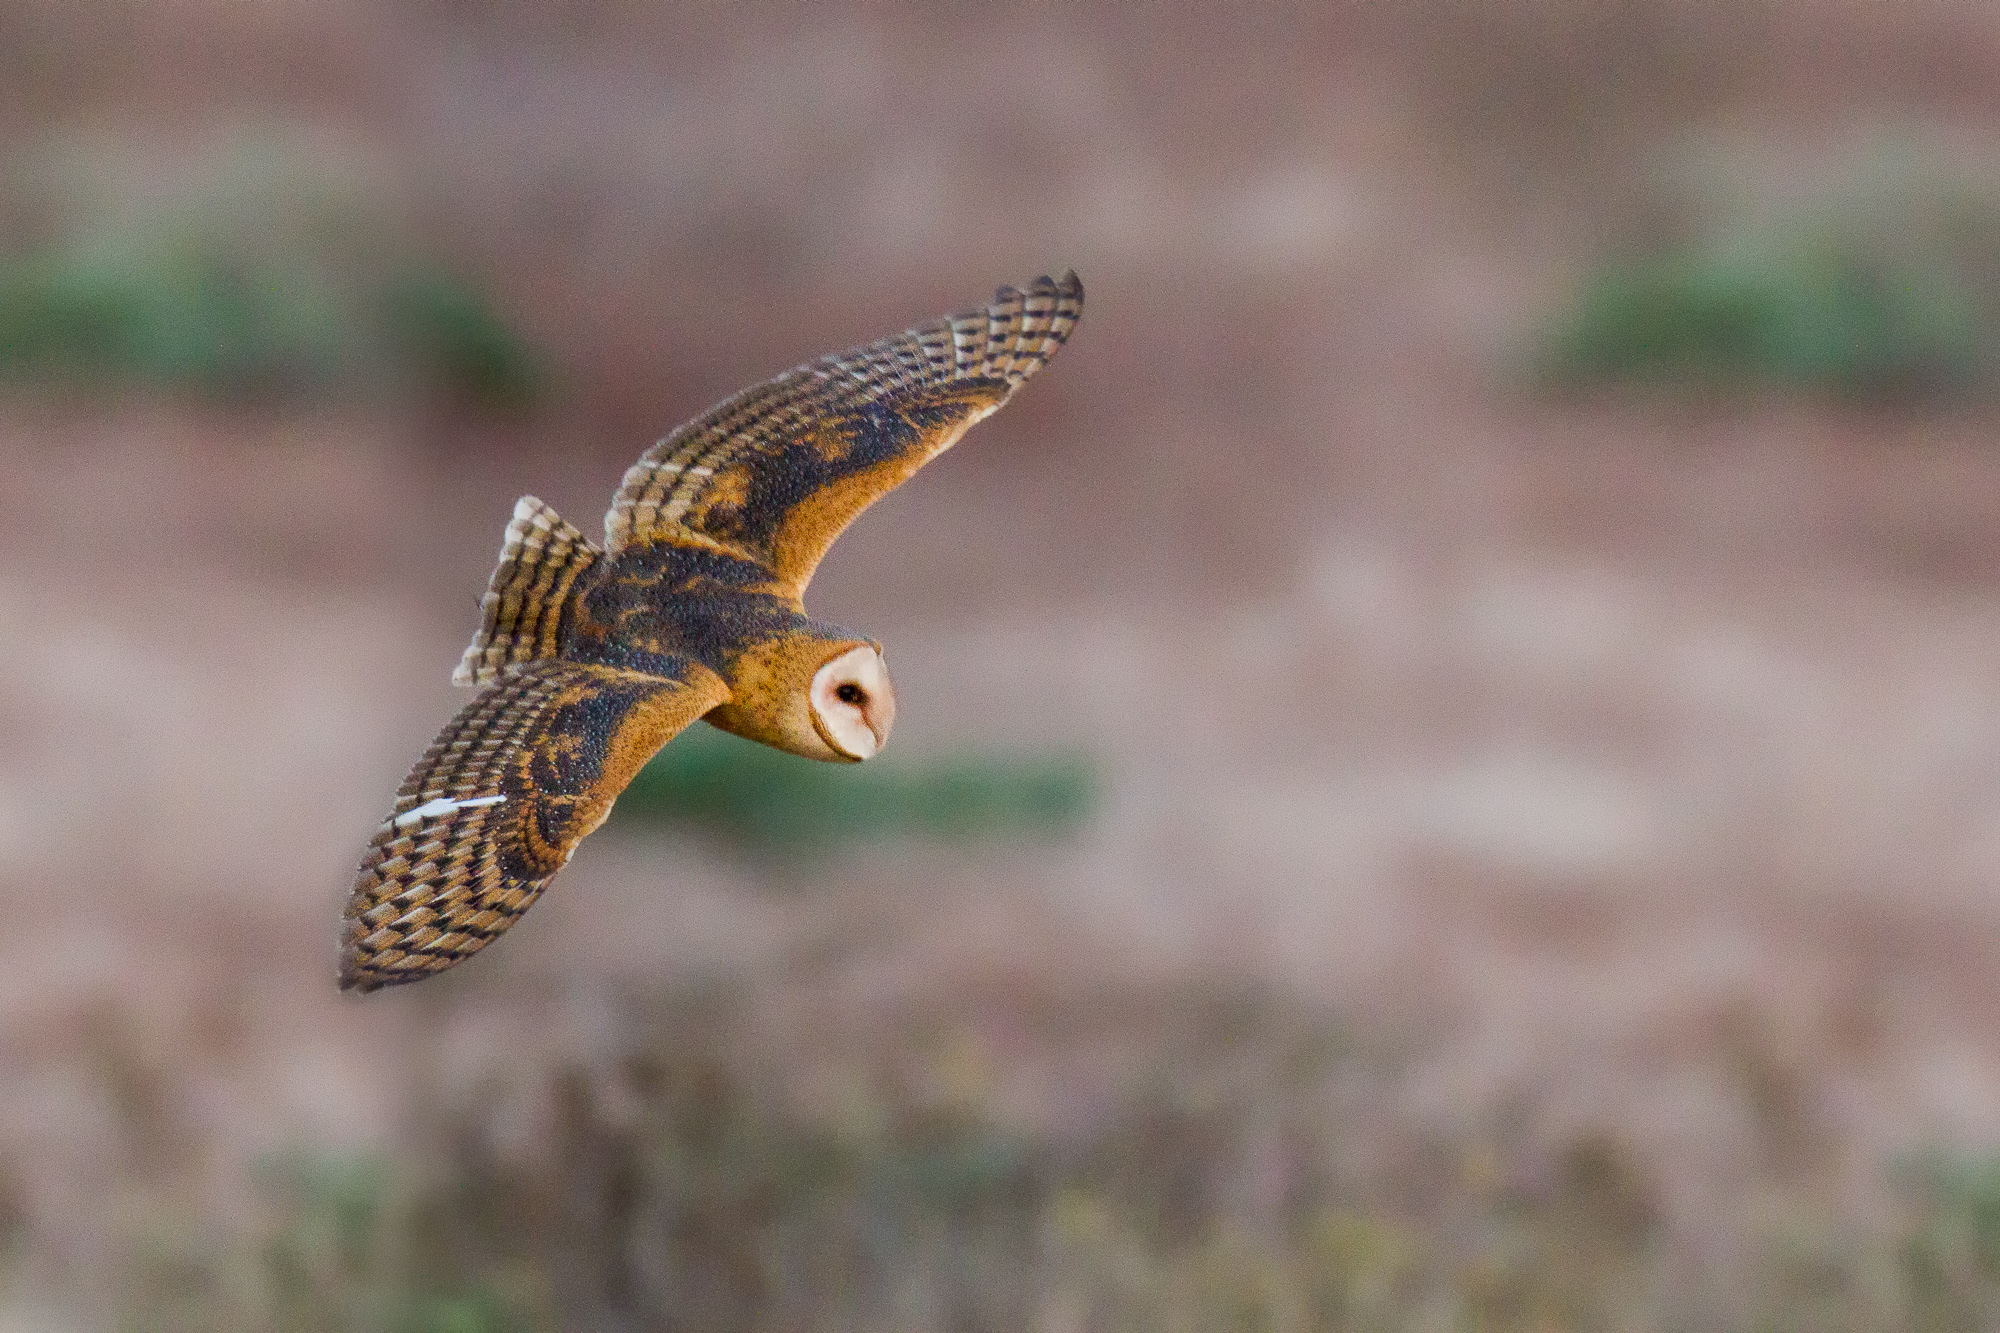
The 7D Mk II’s improved low light auto-focus tracking should make keeping focus locked on birds such as owls who take to the sky at dusk more manageable.

  • "Intelligent Tracking and Recognition (iTR)"

iTR is a new feature introduced with the Canon 1DX and has now filtered to the pro-sumor line. This employs a new RGB metering sensor which can detect and track moving subjects based on color, size and shape. Theoretically, this should help keep focus on erratic motion, such as flying birds. I’m looking forward to putting this to real world tests.

  • Improved high ISO performance

The majority of wildlife come out during the ends of the days, either in early morning or late evening.  Having a camera that can focus and capture images in this kind of light with relatively low noise will be a huge advantage.  While this camera probably does not match the low noise of cameras with a lower pixel density, it will be a big improvement over my 5 year old 7D.

  • Auto ISO parameters

Canon finally got this feature right, with many manual controls around how the metering will select the proper ISO for a given shooting condition.  I can now set a maximum ISO to use (which I'll set to the highest ISO I deem to have acceptable noise), as well as the minimum ISO. With this feature, I can also set the minimum shutter speed the camera will use before increasing the ISO in low light scenarios. Currently I manually set my ISO up or down as the situation calls for it, but I will certainly be using a limited auto-ISO range so that I don’t miss any critical moments.

Nice to have features

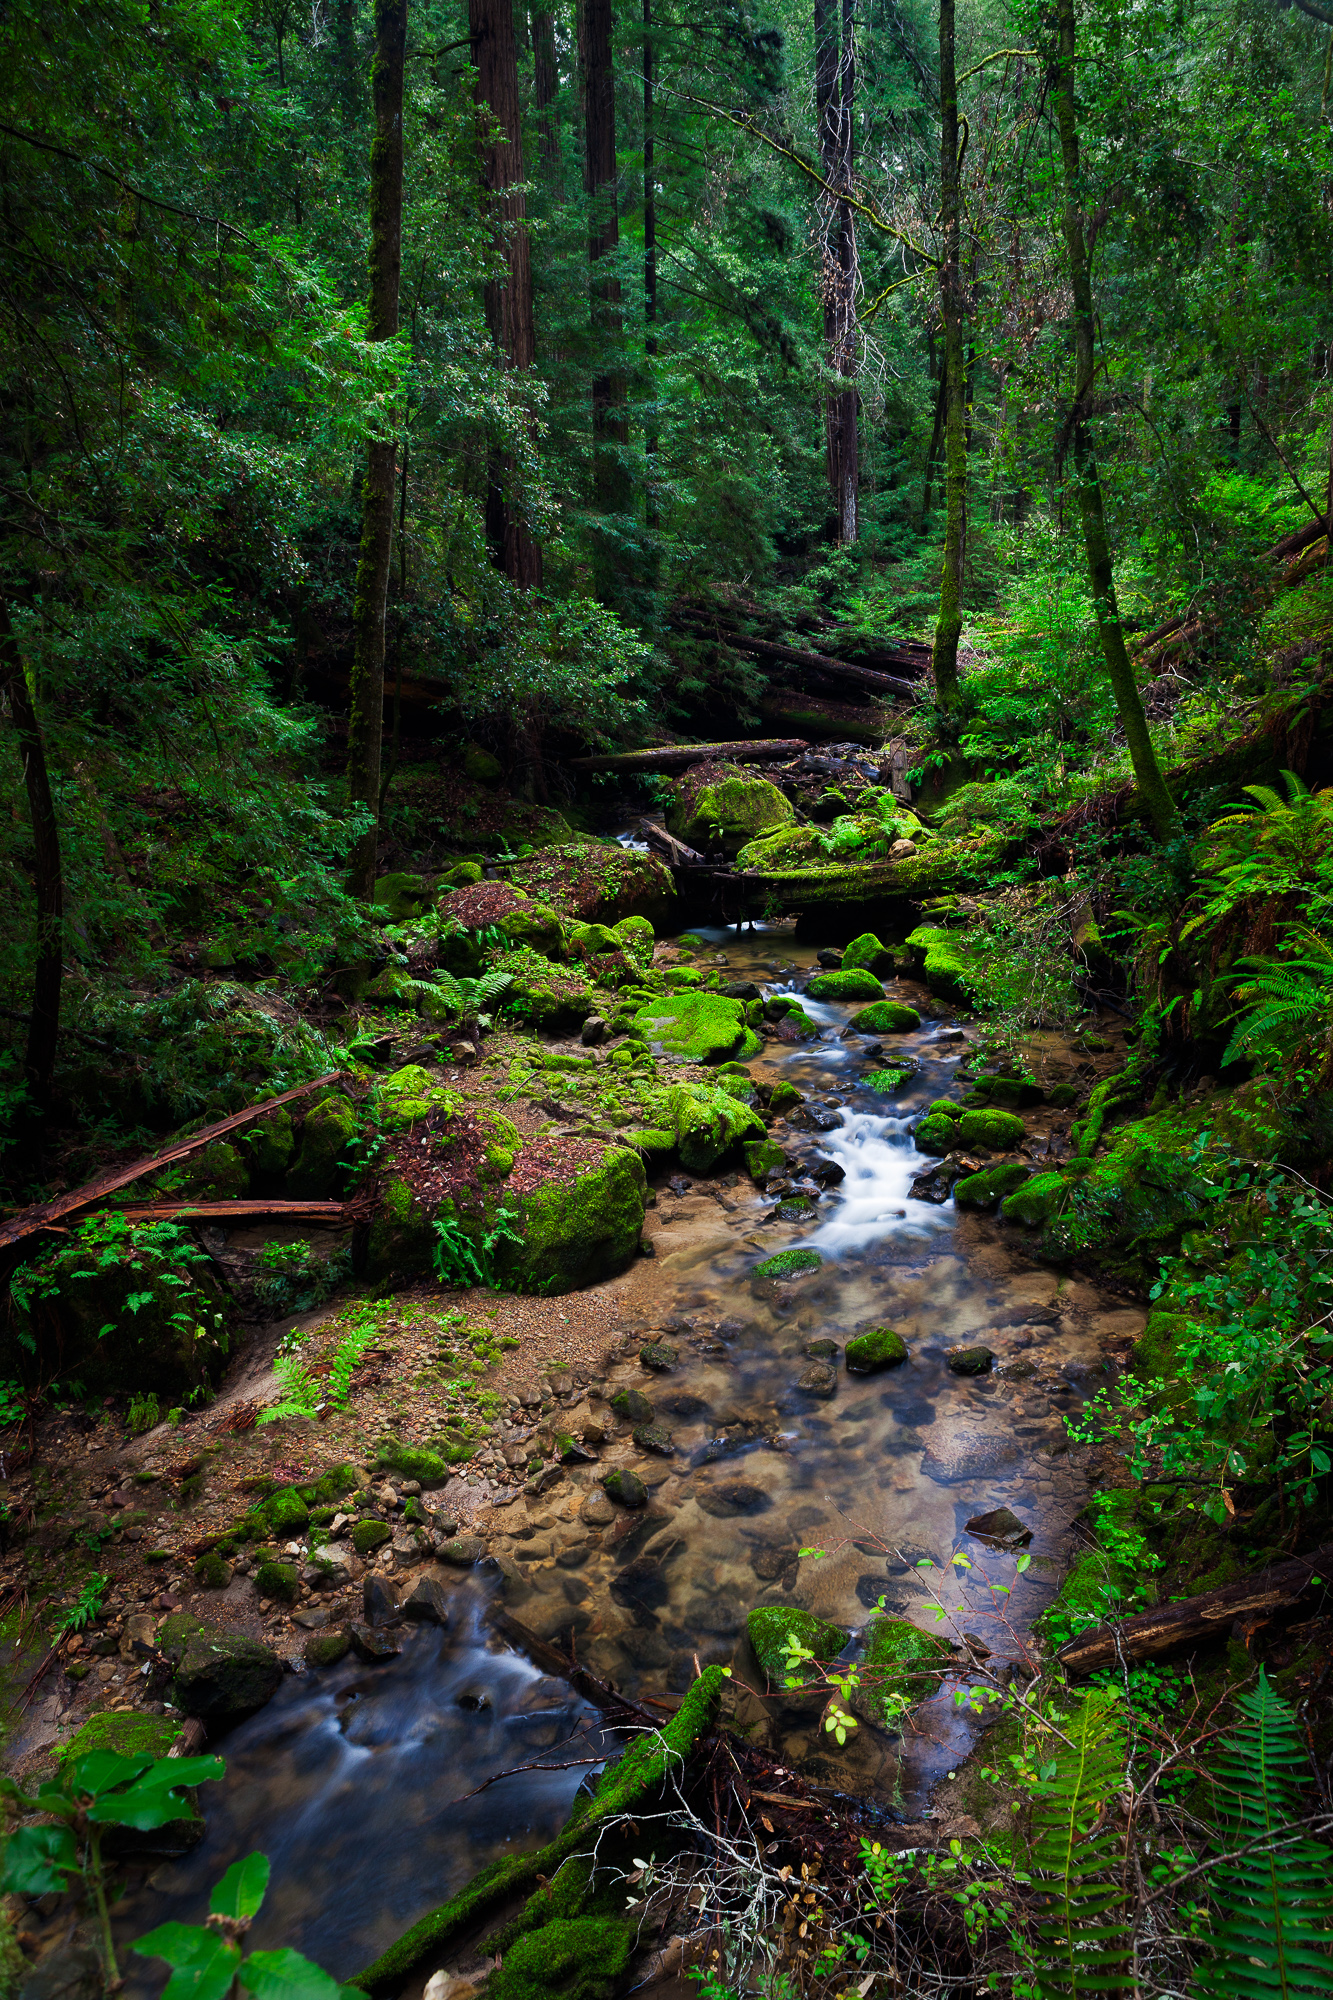
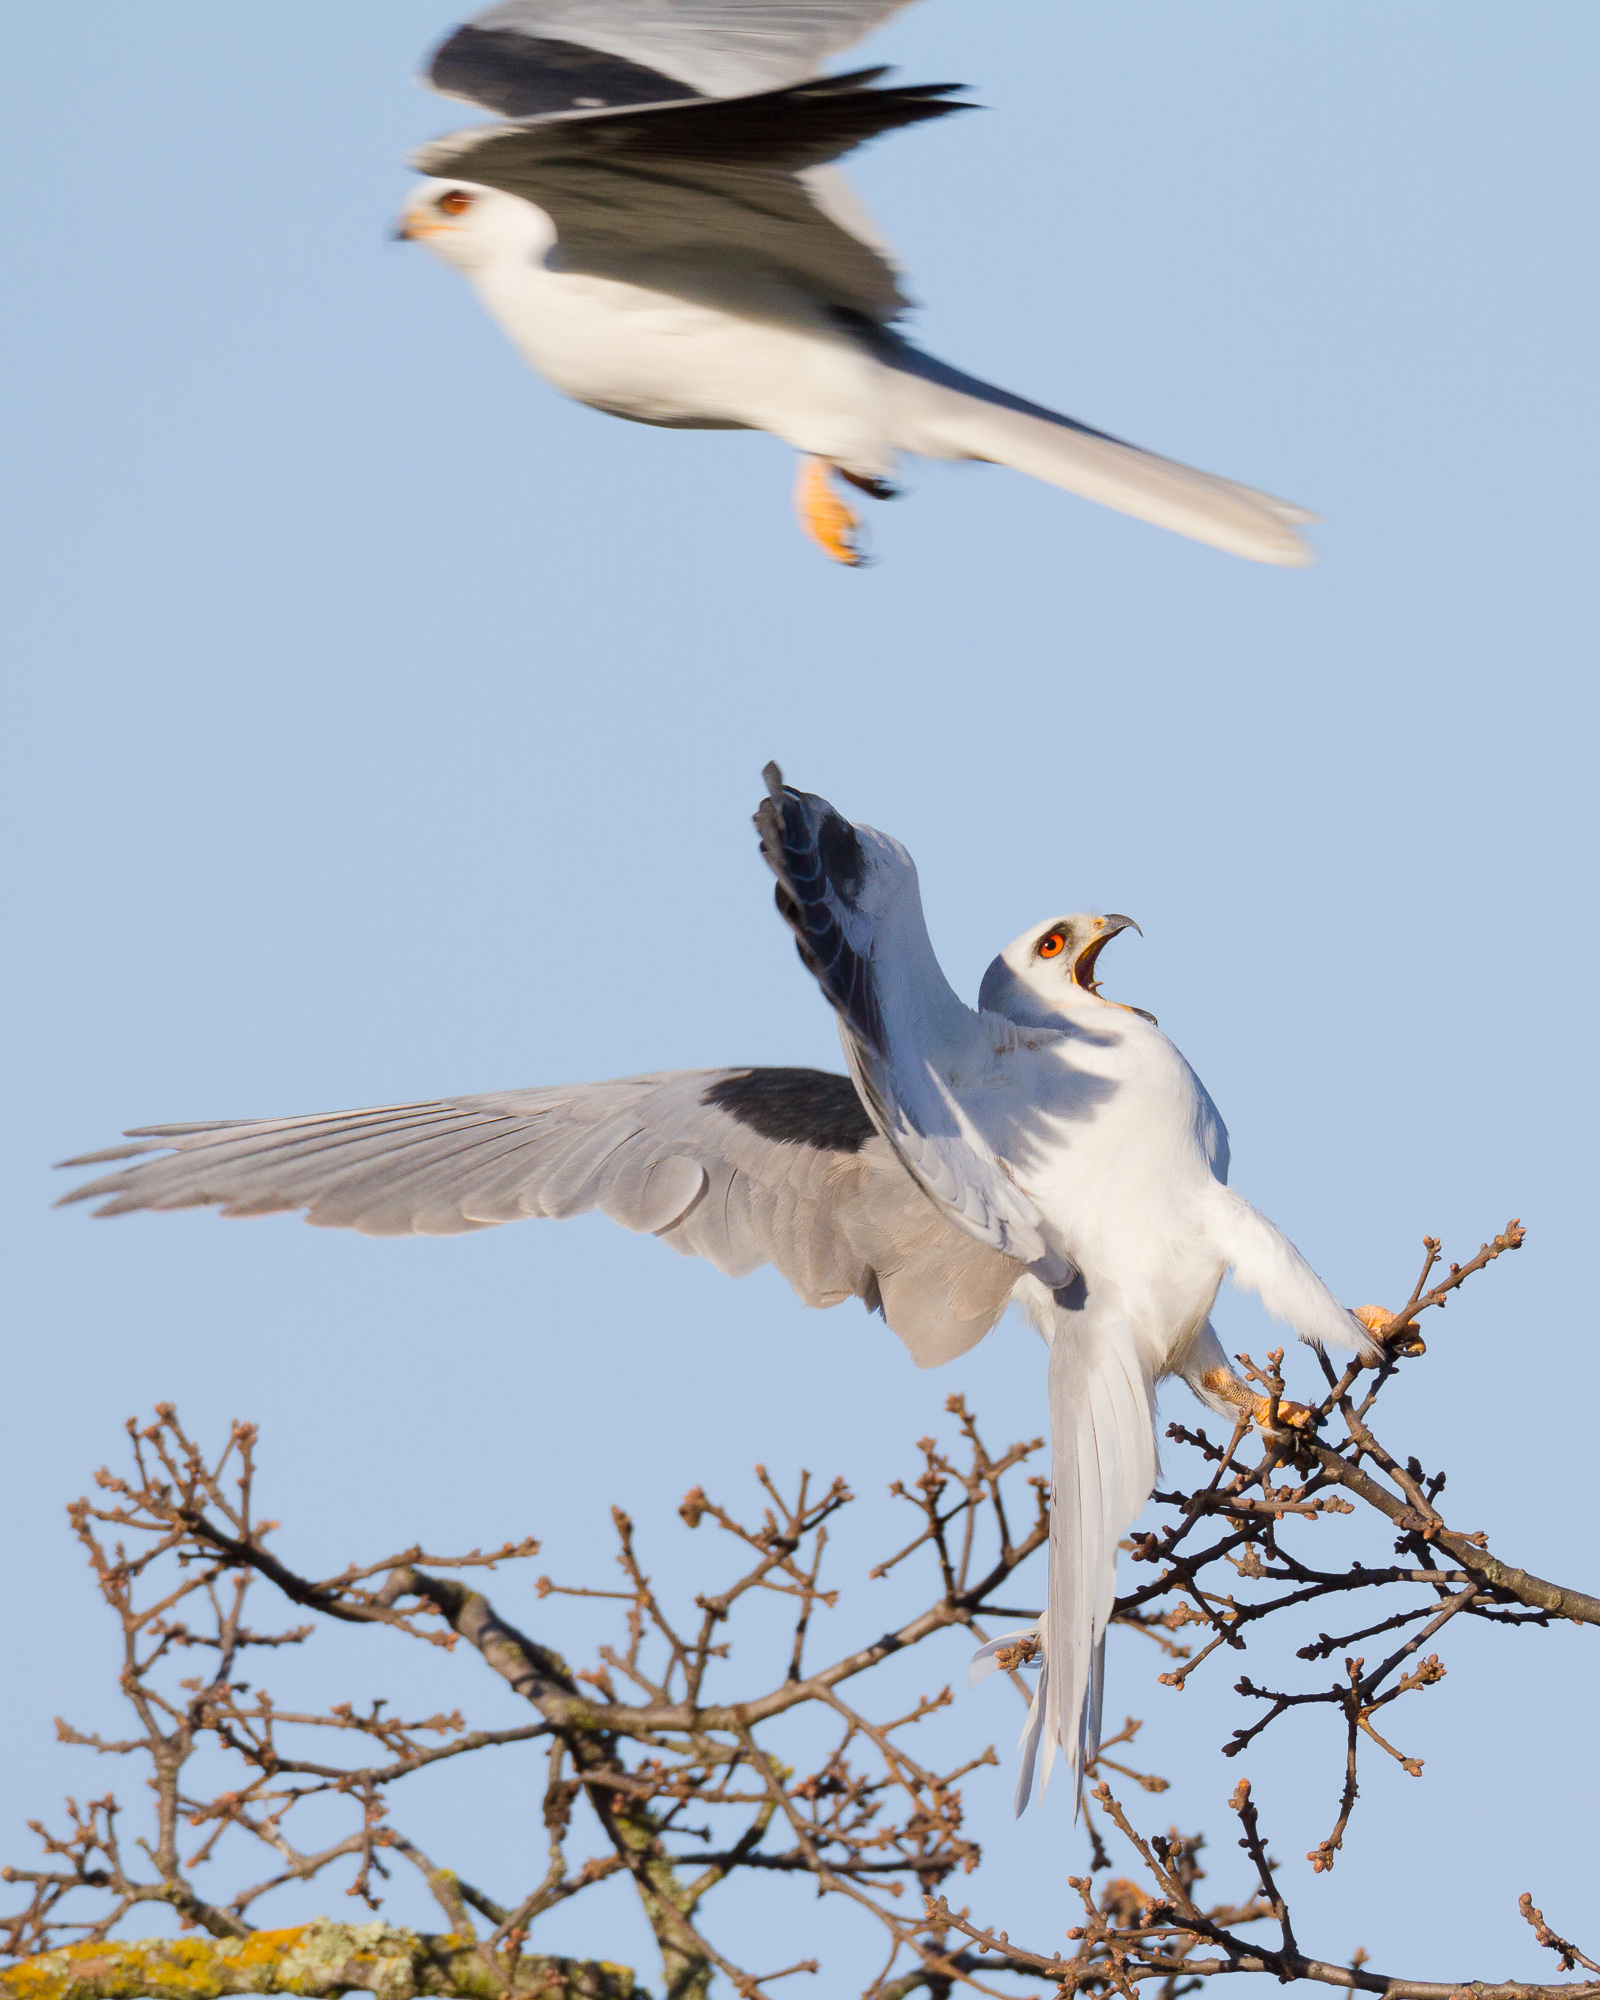
  • 10 fps shutter speed

I already have 8fps with the 7D, but hey, 10 is more than 8, right. All the better to help capture critical action like this:
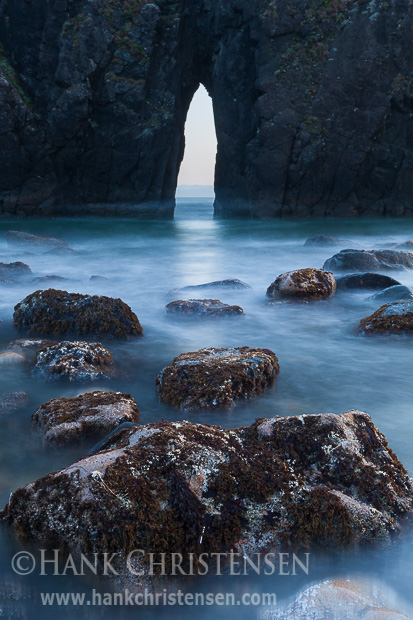
A male white-tail kite flies past a female, which reacts to his close proximity
  • GPS

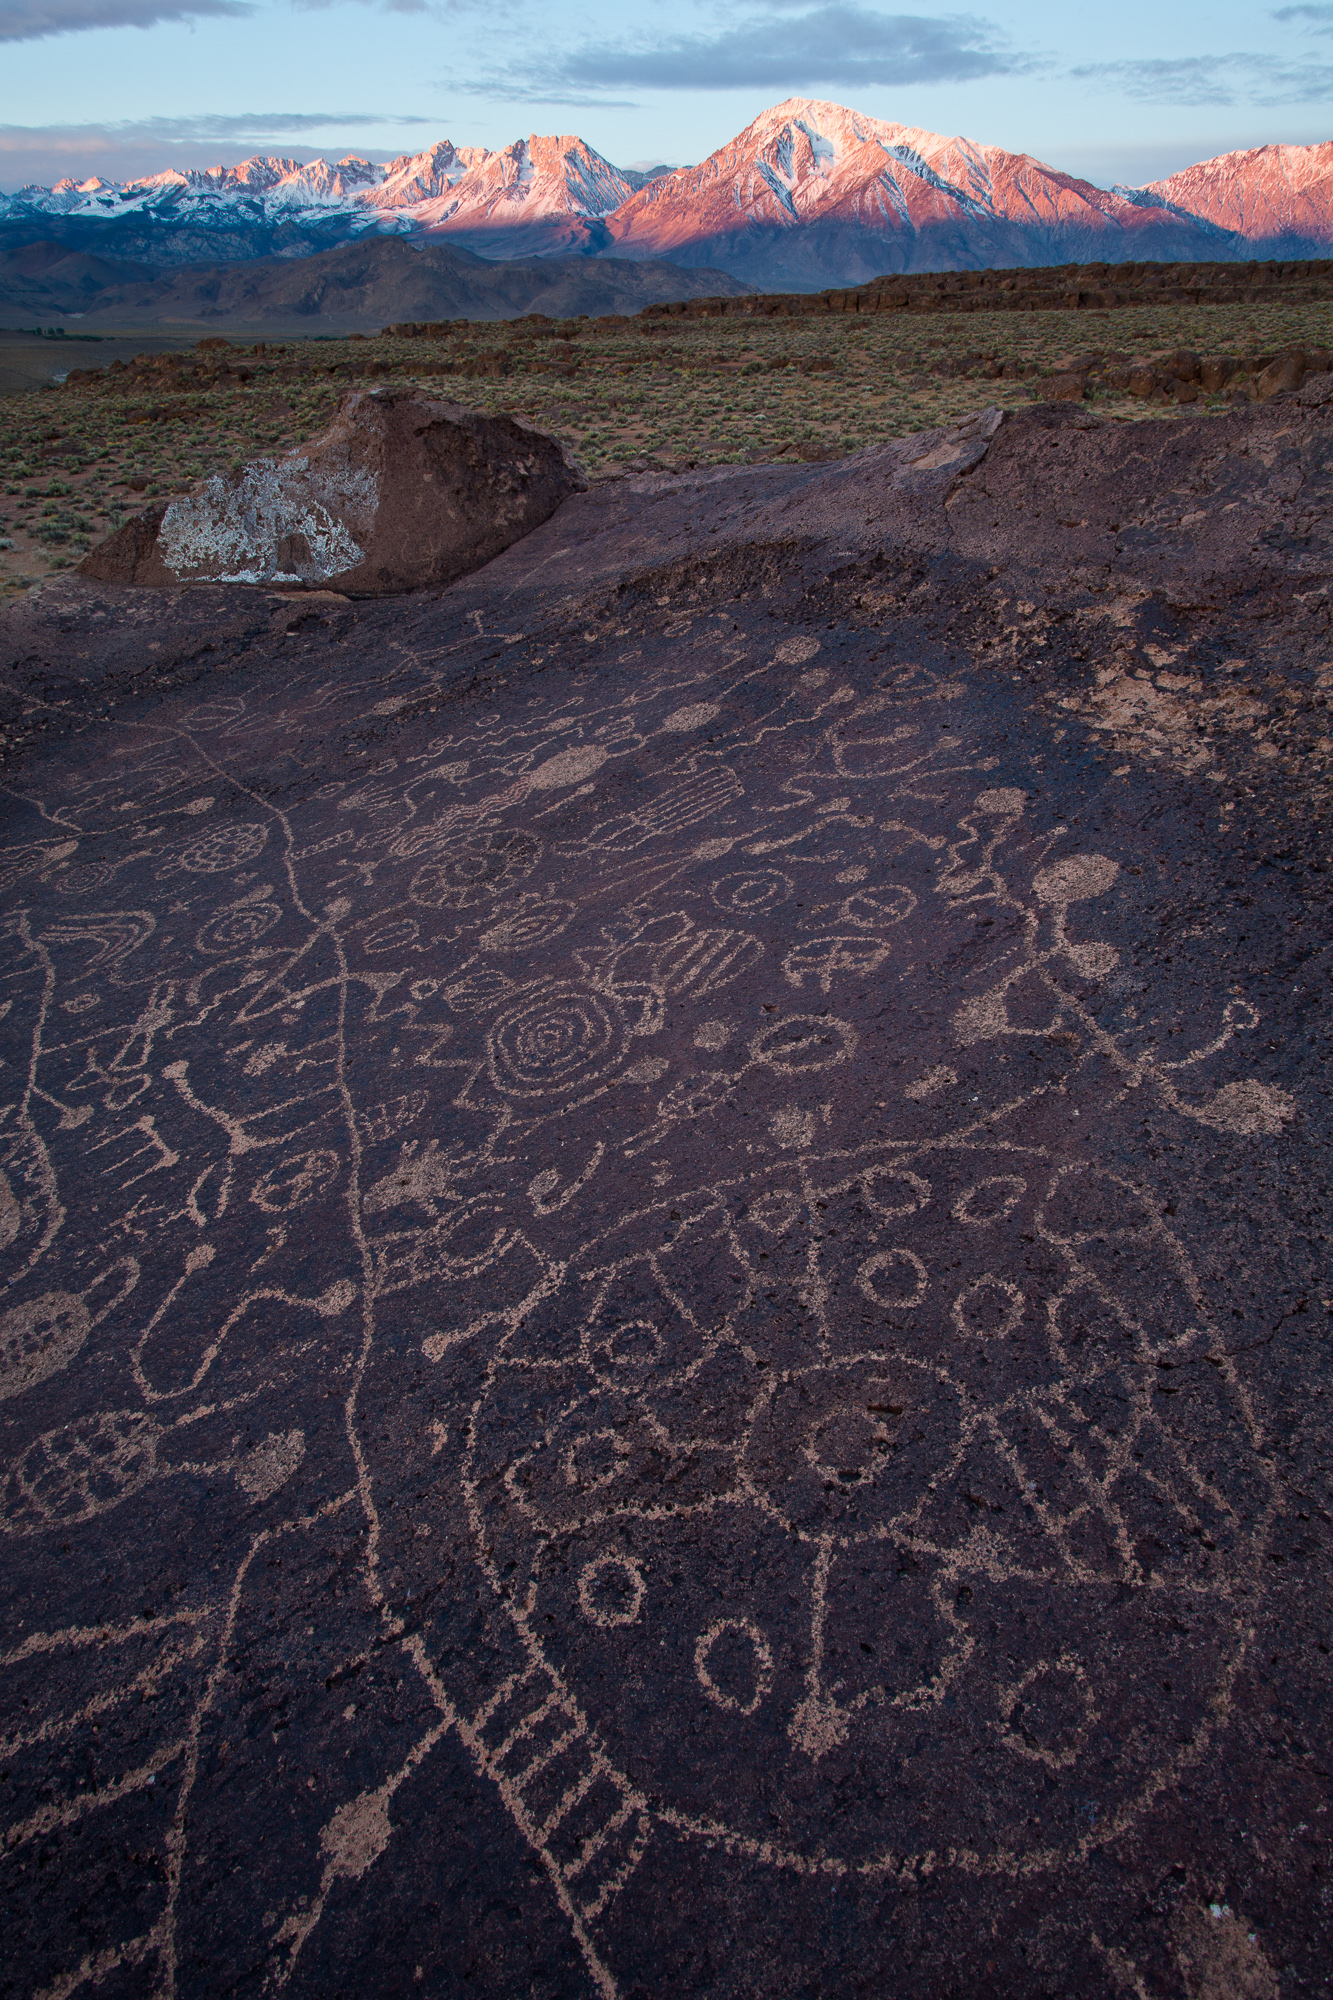
Sure, why not?  However, I will now have to be careful to strip out any location data from photos of sensive locations such as this:

The mountains of the easter Sierra Nevada glow red over the Sky Rock Petroglyph, just outside of Bishop, CA
  • Intervelometer

Nikon cameras have had this for years, so its nice to see Canon catch up.

  • Buffer depth (31 RAW vs 25 RAW in 7D)

This is a huge buffer! Having the ability to take 31 consecutive photos at 10 fps is pretty incredible. I’m not a big fan of spray and pray photography, but when you need to blast off a few, knowing that your camera won’t suddenly go quiet on you brings great peace of mind.

Try, try, and try again

Waddell Creek flows through a green forest along the Berry Creek Falls trail, Big Basin Redwoods State Park

One of the keys for any budding photographer is to shoot often, and stay well organized. You never know when photos you have taken in the past might some day become marketable. Several years ago, I shot a series of photographs on spec for a national magazine, including the photo you see here. Shooting on spec means that the magazine is requesting a photo with particular specifications, but has not given you an assignment and guaranteed publication. This is something I wouldn’t recommend unless it is almost no cost to you (including time spent!). My brother graciously volunteered to come along an be my model for the day.

Unfortunately, the magazine didn’t use my photographs for the intended article (in fact, I don’t know if they ended up running that article at all). This happens all too often with editorial publishing, which is why shooting on spec is almost never a good idea, especially if photography is your primary source of income. However, a couple of years later, that same national magazine did print one photo from this outing for a different article, and just recently another magazine is looking at these photos for publication as well.

The only way this was possible was for my photos to be well organized so they were easy to submit for other uses over the years. This means they were well captioned, titled, and tagged with keywords. Even though the original intent for the photos fell through, they were still very usable and have become part of my photo archive. Who knows when one of these photos will be used again in the future?

2013 Round-up – Top 40 photos of the year

I am a little late this year, but finally, here are my favorite images from the previous 12 months. This year I only had one major photography focused trip to the northern California coast, capturing the delicate rhododendrons amongst the fog of the coastal redwoods. I also had a truncated attempt at the John Muir Trail (got completely rained out after only three days) and a wonderful trip to Kauai to celebrate ten years with my beautiful wife.

Photos from all of these trips plus a wide variety of birds made my top 40 list this year. Please enjoy the gallery below. For best viewing (especially if viewing on a mobile device), please click on the following photo:

Click the photo above to see the top picks from 2013!

Or, just enjoy the gallery here on the page. To view larger photos in the embedded gallery below, be sure to click the icon in the lower right corner to enter full screen mode.


Hank’s Picks 2013 – Images by Hank Christensen

If you are interested in compilations from previous years, please see the 2012 2011 and 2010 lists.

A Counter-intuitive Tip To Tack Sharp Photos With A Long Lens

The hues of twilight cast offshore sea stacks in a blue glow as waves wash around them, Crescent City, CA

On my recent trip north up the California coast to photograph redwoods and rhododendrons, I also had an opportunity to shoot sea stacks just offshore in Crescent City, CA. After shooting a bit with my 70-200mm, I really wanted to go for a unique perspective of these rocks and stack them on top of one another. So I grabbed my go-to bird lens, the 800mm f/5.6. Using a Canon 7D with a cropped sensor gave me an equivalent focal length of 1280mm.

I waited until the sun set, giving me photos with the cool blue of dusk, and allowing me to slow my shutter speed to turn the crashing waves into a calming mist. This is the effect I was after – hard, sharp rocks shrouded in a blue fog of moving water. However, as soon as my shutter speed got longer than 1/100th of a second and started creeping toward the 1 and 2 second mark, the results on the back of my LCD were horribly blurry.

In normal shooting conditions with this lens, I never like to let the shutter speed drop below 1/250th of a second, and only if I have a stationary subject do I lock down the gimbal head on my tripod and go for something slower. But usually 1/100th of a second is my slowest usable shutter speed. What to do in this situation? Even by bumping the ISO very high I couldn’t achieve a fast enough shutter speed in these darkening conditions, and doing so would also counteract the effect of the moving water.

The solution seemed counter-intuitive at first. I found that by greatly lengthening my exposures, I was able to achieve much sharper results! The initial blurriness I was seeing was caused by the shutter vibration, amplified by the extremely long focal length (and yes, I was using mirror lockup). When I increased the exposure time, the percentage of time that the mirror shake impacted the overall exposure time was reduced, thus creating a sharper image. Using this principal, I found that by exposing for 30 seconds, I was able to achieve the sharpest results.

A couple things to keep in mind. First, this technique will only work if there is no wind. Even a slight breeze will blow a huge lens like that back and forth, ruining any chance of a long exposure. Second, make sure to check sharpness by zooming in to your resulting photo on the camera’s LCD. Never trust sharpness from a photo displayed 3 inches across – everything looks sharp when it is that small!

So next time you’re out with a giant lens trying to do landscape work (really not a very common combo!), remember to experiment with the slower shutter speeds. You might just find some sharpness in there.

Copyright 2017 Hank Christensen